Installing an aluminium UTE canopy is one of the most practical upgrades you can make to your vehicle. Whether you're heading out for a weekend of camping or need secure storage for work, having the right canopy makes a huge difference. But the big question often comes down to this: Should you set it up yourself or get a professional to do it?
In this article, we walk through what to expect from both routes. We'll break down the key things to know if you're going the DIY way and what to check for when you leave it to the pros.
How to install a canopy on a UTE
There are a few solid reasons why you might want to install your own canopy. It can save you money, give you more control and help you understand your setup better. But it also means being responsible for every single step.
Here are some important things to keep in mind before you get started:
- Get your measurements right
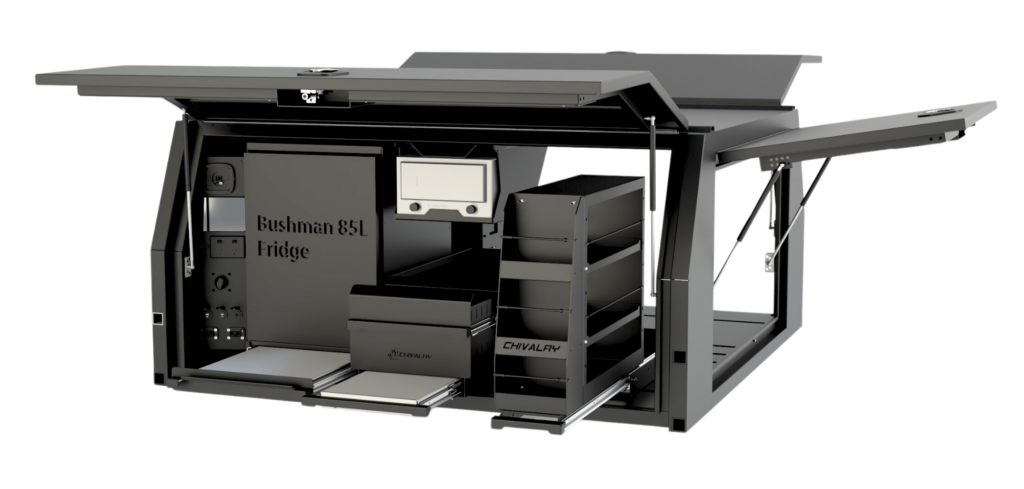
Before you even think about lifting anything, ensure you’ve checked your tray size, canopy width and alignment points. Even a few millimetres off can create mounting issues or leave gaps. Use a tape measure, not your eyes.
- Secure the right tools
You’ll need more than just a basic socket set. Be certain you’ve got clamps, drill bits suited for aluminium, a torque wrench and rust-resistant bolts. Having everything on hand before you start can save a lot of frustration.
- Know your mounting type
Some UTE canopy setups are designed for direct bolt-on, others require clamps or a sub-frame. Check your product manual or talk to the supplier to ensure you're using the correct method for your tray and canopy type.
- Lift with help
Even if the canopy looks light, it may be difficult to lift alone. Ask someone to help you lift and align it, especially when positioning it for the first time. Scratches and dents happen fast if it slips.
- Double-check alignment before bolting down
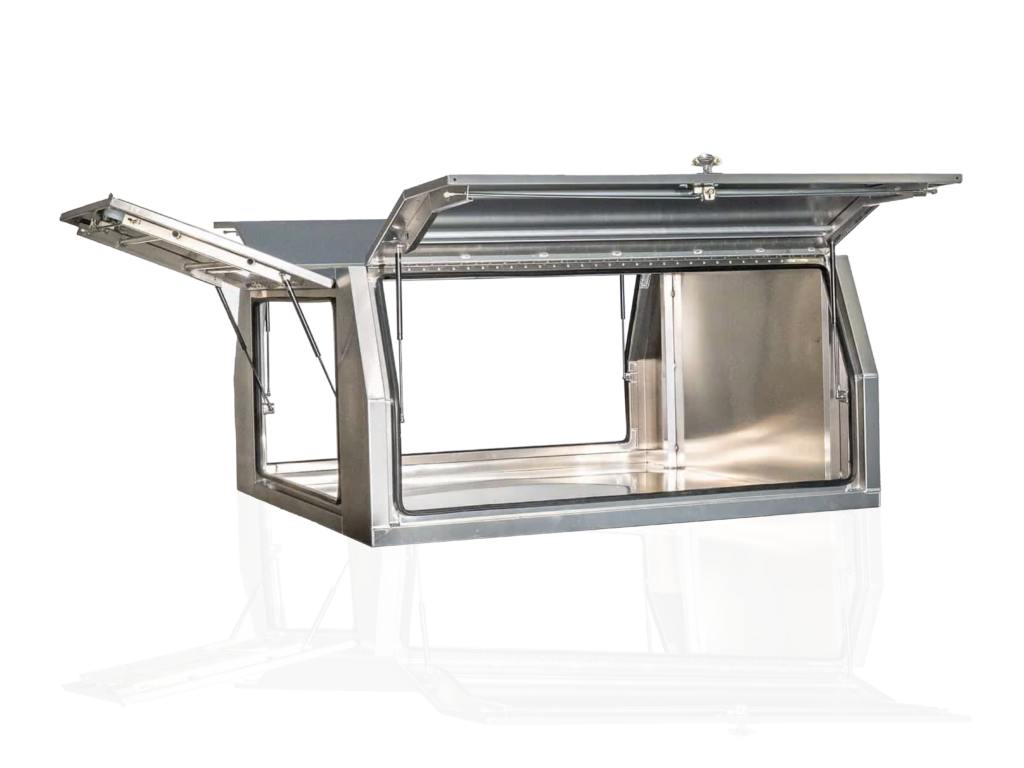
Don’t tighten the bolts straight away. Place the canopy, check that all doors open cleanly and look at the overhang on each side. Only once everything is aligned evenly should you fasten it down.
- Seal and protect
After you’ve installed the aluminium UTE canopy, it’s a good idea to use rubber or foam gaskets anywhere metal surfaces meet. This avoids rattling and protects your tray from scratching. Adding a bit of silicone sealant can also help prevent water entry during wet conditions.
- Test your DIY UTE canopy setup
Once installed, drive around the block. Listen for rattles or knocks. Check that all doors open and close cleanly. A short drive can reveal minor tweaks you’ll want to make before heading out long-term.
Professional UTE canopy fitting — what to check
Of course, if you're handing the job over to a professional, there’s not much you need to physically do. That said, there are still a few things you’ll want to look out for to ensure the job’s been done right.
Here are the key things worth checking:
- Inspect mounting points
Look underneath the tray or inside the canopy to see how it’s secured. The bolts should be snug but not overtightened, and nothing should look like it's putting too much stress on a single spot.
- Check the alignment
Take a step back and look at the canopy from all angles. Is it sitting level? Are the overhangs even on both sides? If it looks crooked, it probably is.
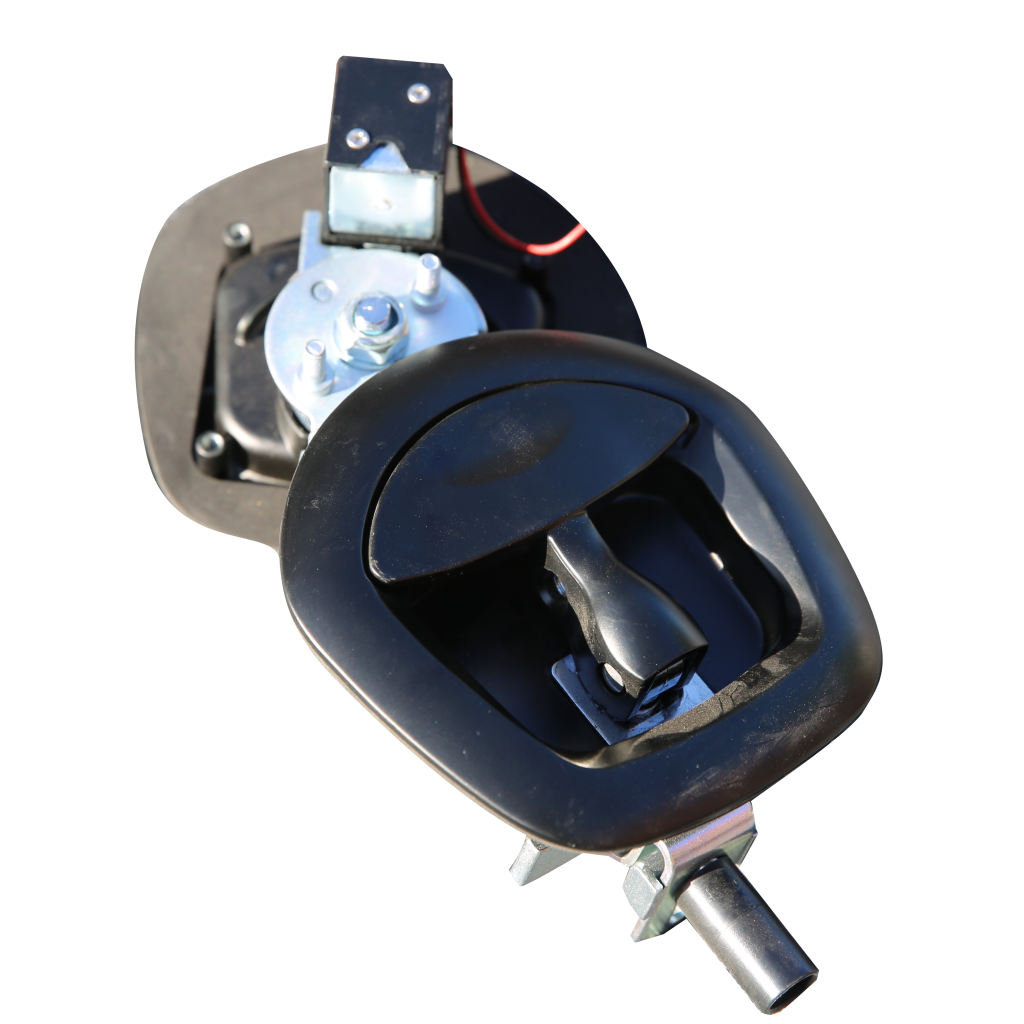
- Confirm functionality of doors and locks
Every door should open easily without resistance, and the locks should snap shut securely. Ask the installer to walk you through each function, especially if there are gas struts or compression locks.
- Ask about water resistance measures
Check if they’ve applied any sealing foam, weather strips or silicone. These small additions help prevent leaks and dust ingress, keeping your gear protected during wet or off-road conditions.
- Look for signs of rushed work
Are there scratches around bolt holes? Loose wiring? Poor trimming of sealing foam? A good install should look neat and deliberate. If anything feels like it was rushed, don’t hesitate to ask them to clean it up.
- Test fit and stability
Gently push and rock the canopy by hand. It should feel solid. Then take it for a drive and listen out for any movement. If anything feels off, get the installer to revisit it before heading off.
- Keep your paperwork
Good installers will give you some documentation on the work done. This might include a checklist or warranty coverage. Keep it safe in case you ever need adjustments or future work.
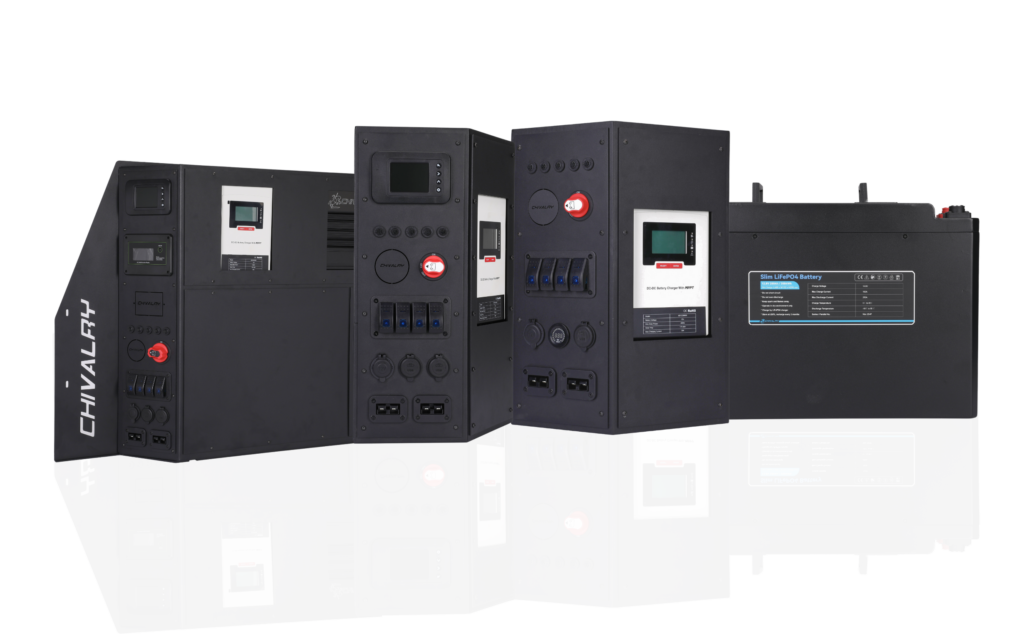
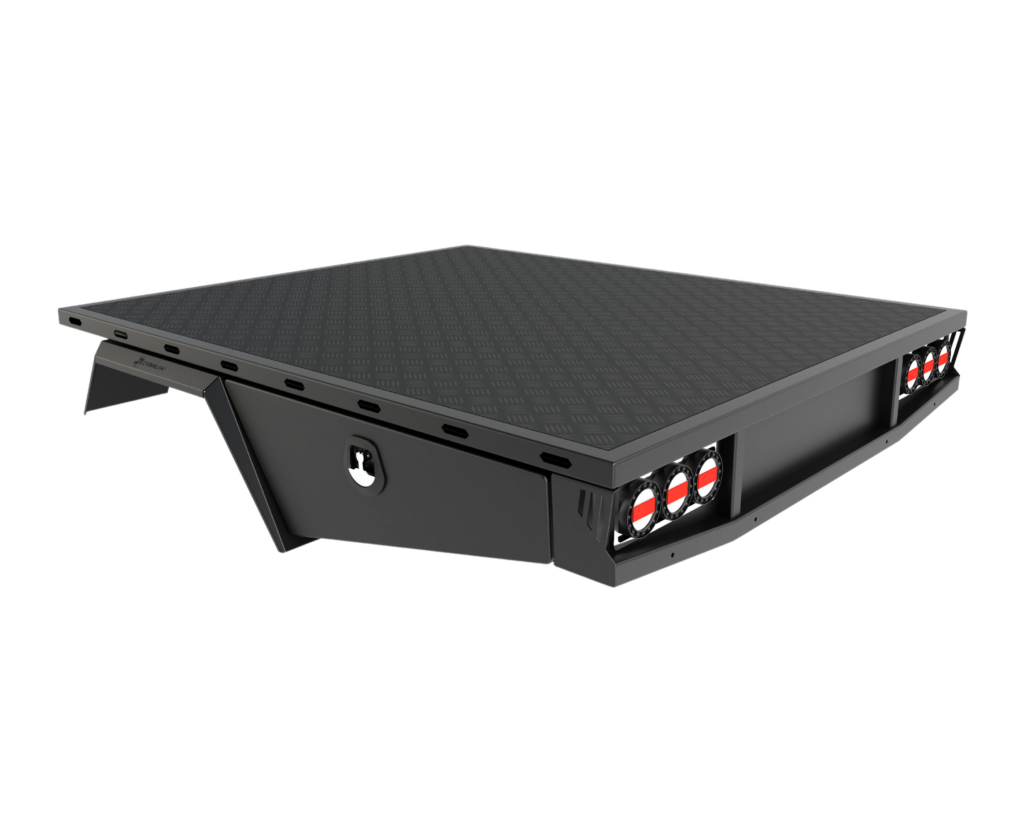
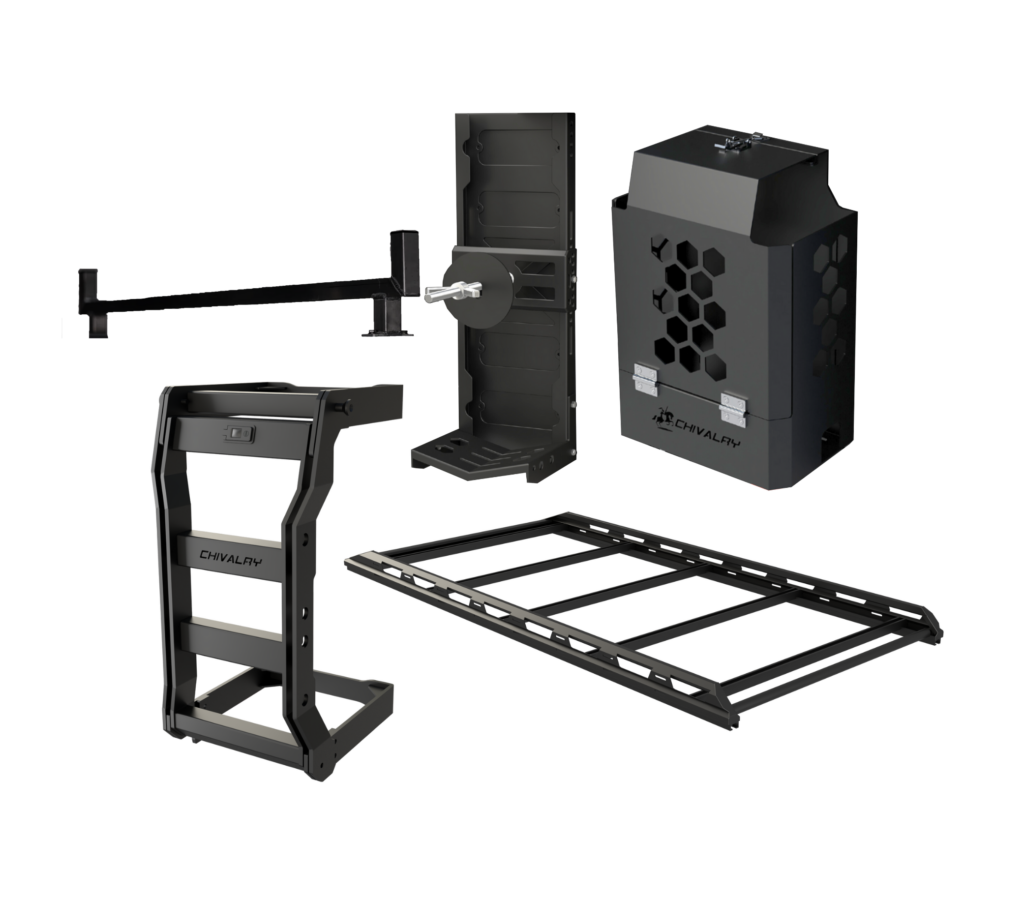
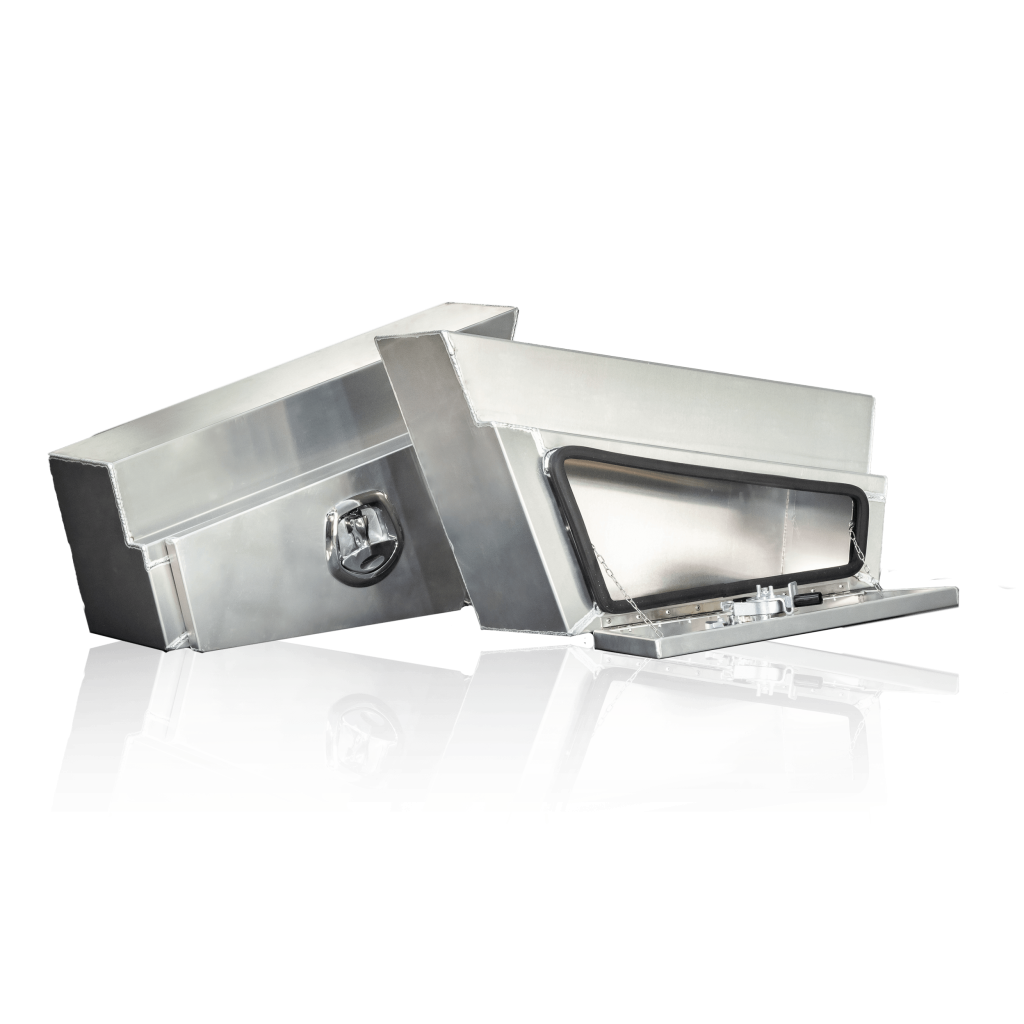
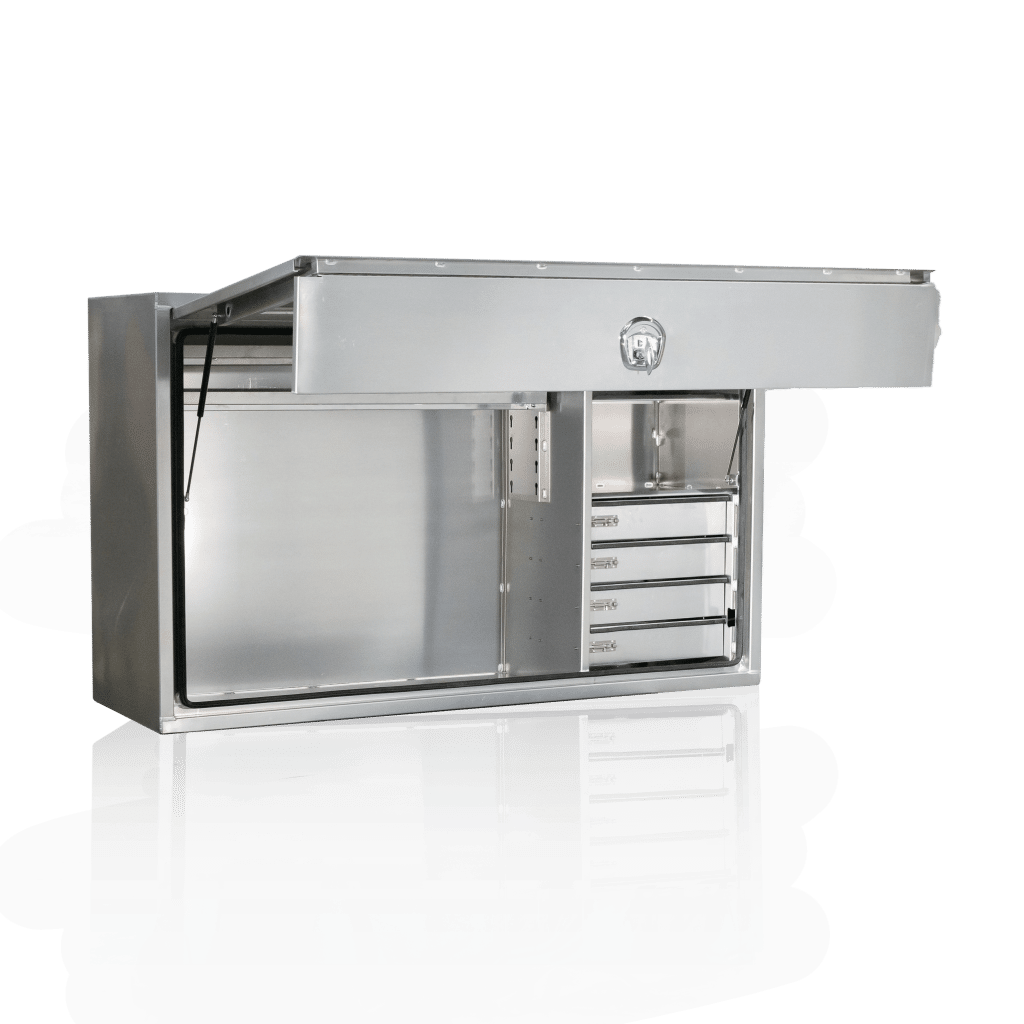
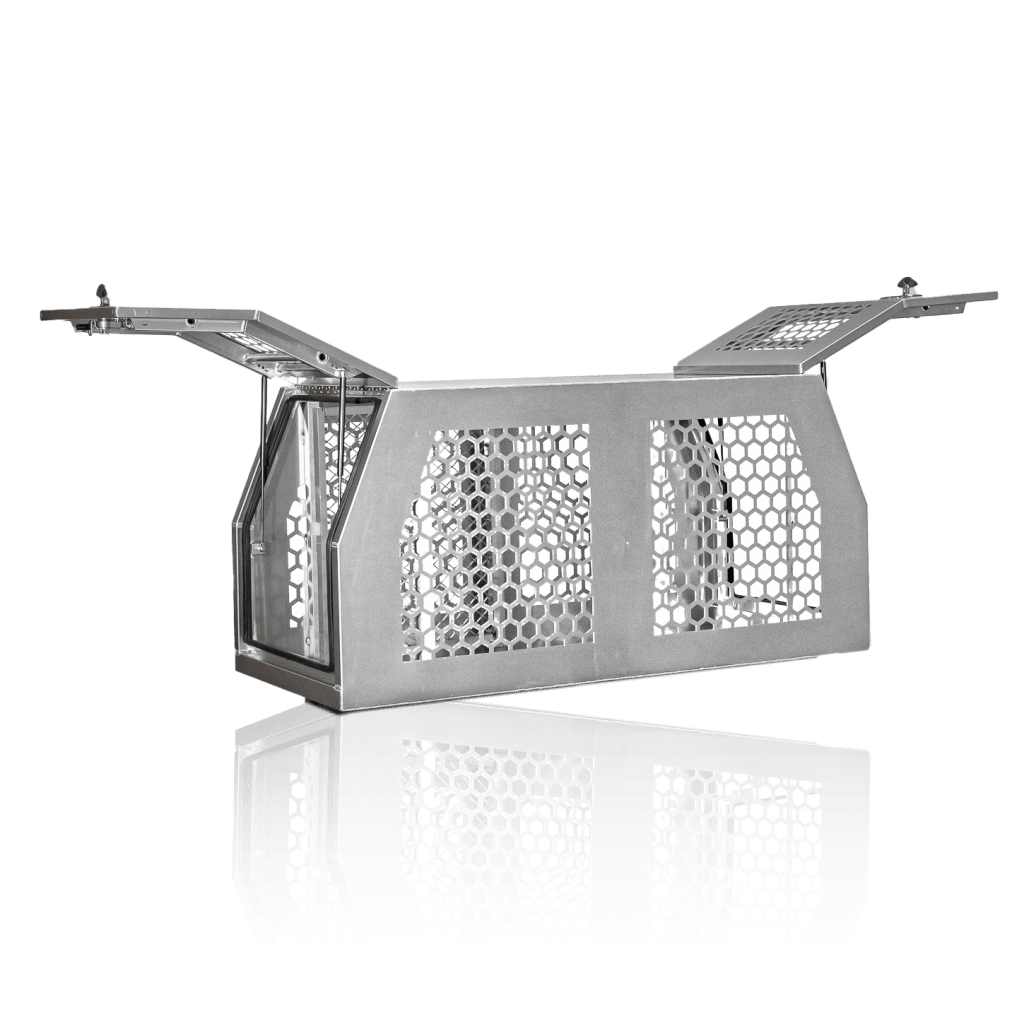
Aluminium UTE canopy installations made easy with Chivalry Tray & Canopy
Whether you’re doing the install yourself or leaving it to someone who’s done it a hundred times, what matters is knowing what’s involved so the job gets finished right. And if you want to make that even easier, going with a canopy engineered for no-fuss setup makes all the difference.
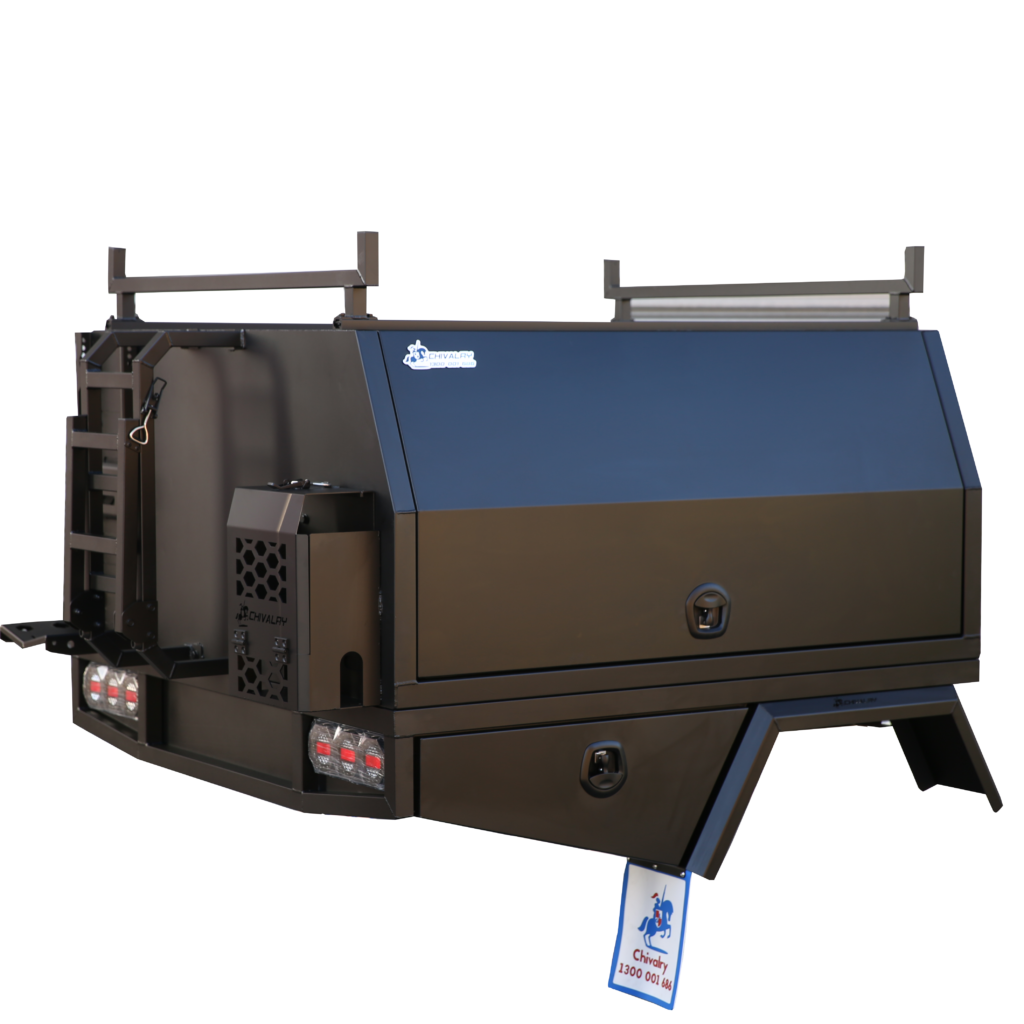
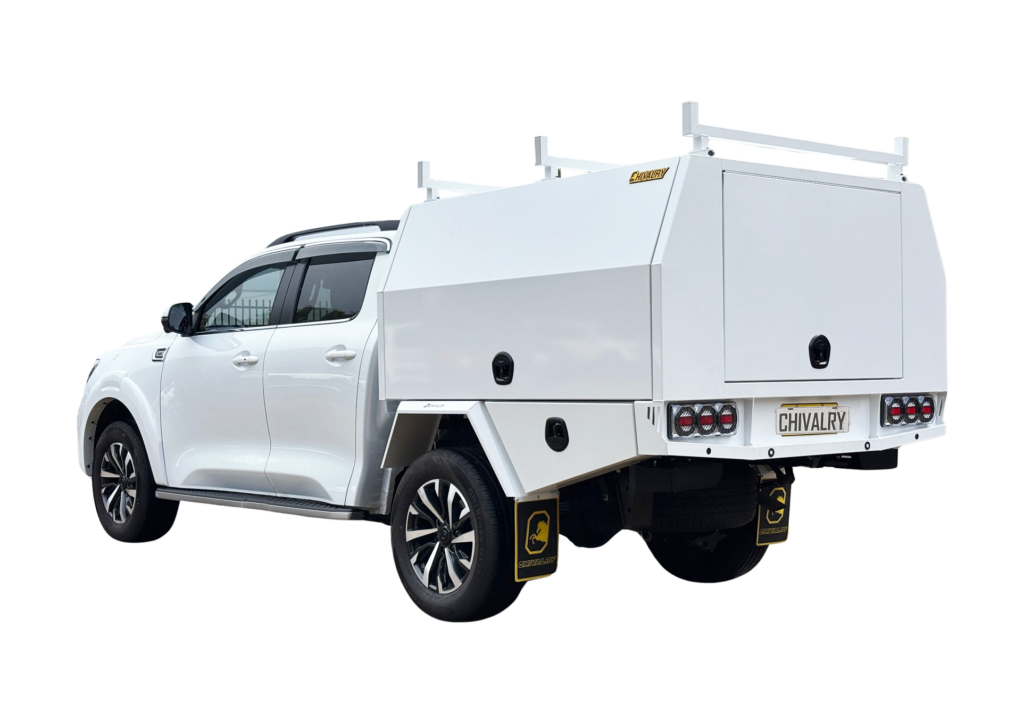
That’s exactly how we build them at Chivalry Tray & Canopy. Our 5052-grade aluminium UTE canopies are designed with clean mounting points, internal bracing and panel fitment that lines up the way it should. We also reinforce our builds where it matters and finish every product to withstand harsh Aussie conditions. That way, your time, effort and investment go into something that’s built to last.
Reach out to learn more about us and our products or if you have further questions about how to install a canopy on a UTE. We can also connect you with trusted installers who know our canopies inside and out if you'd rather leave the fitting to professionals.