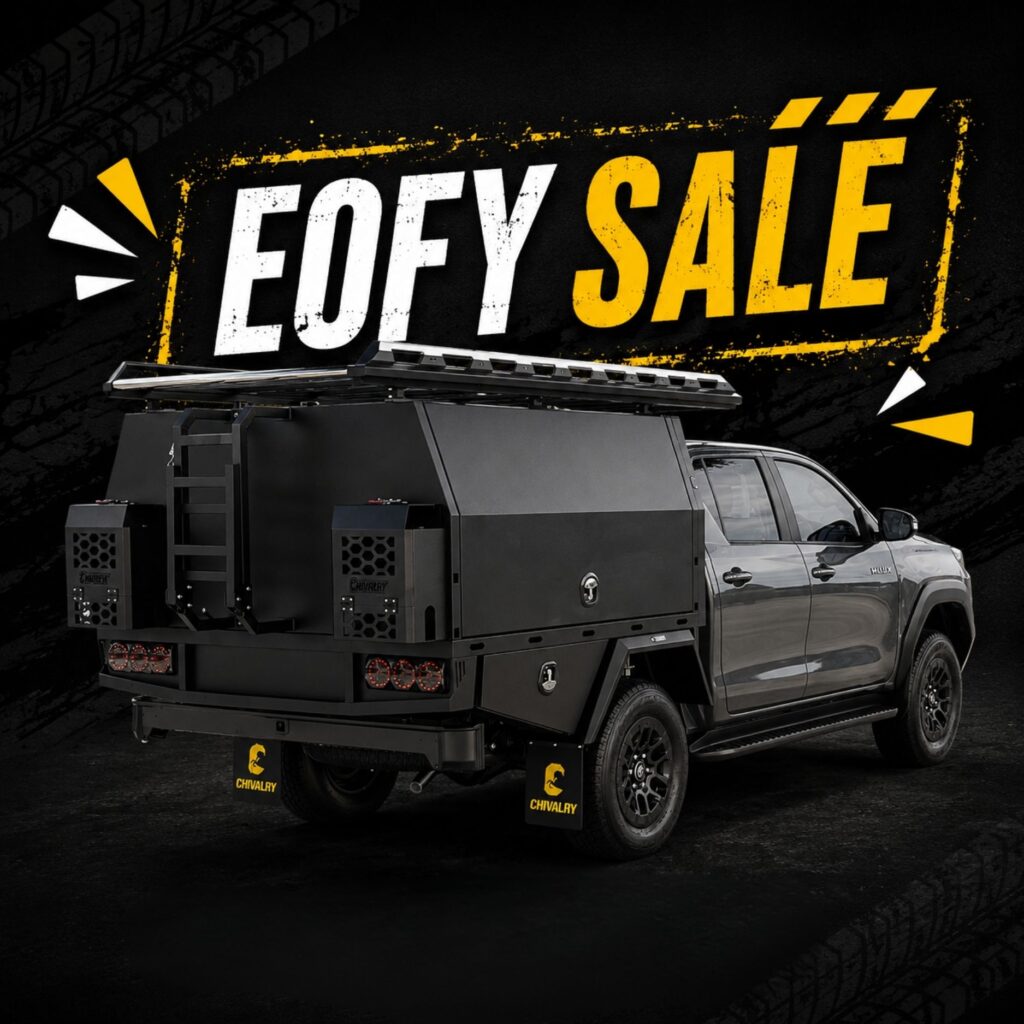
A properly installed canopy gives your ute serious functionality by adding security, storage and protection from the elements. It makes carrying tools easier, helps keep gear safe in rough weather and opens up your setup for touring, work or both. But how to install a canopy on a ute the right way takes more than a few bolts and a guess.
This guide covers what you need to know at every stage of installation. Learn how to put on a ute canopy correctly, including mounting techniques, sealing methods, wiring basics and final checks to make sure your canopy stays solid and weather-tight.
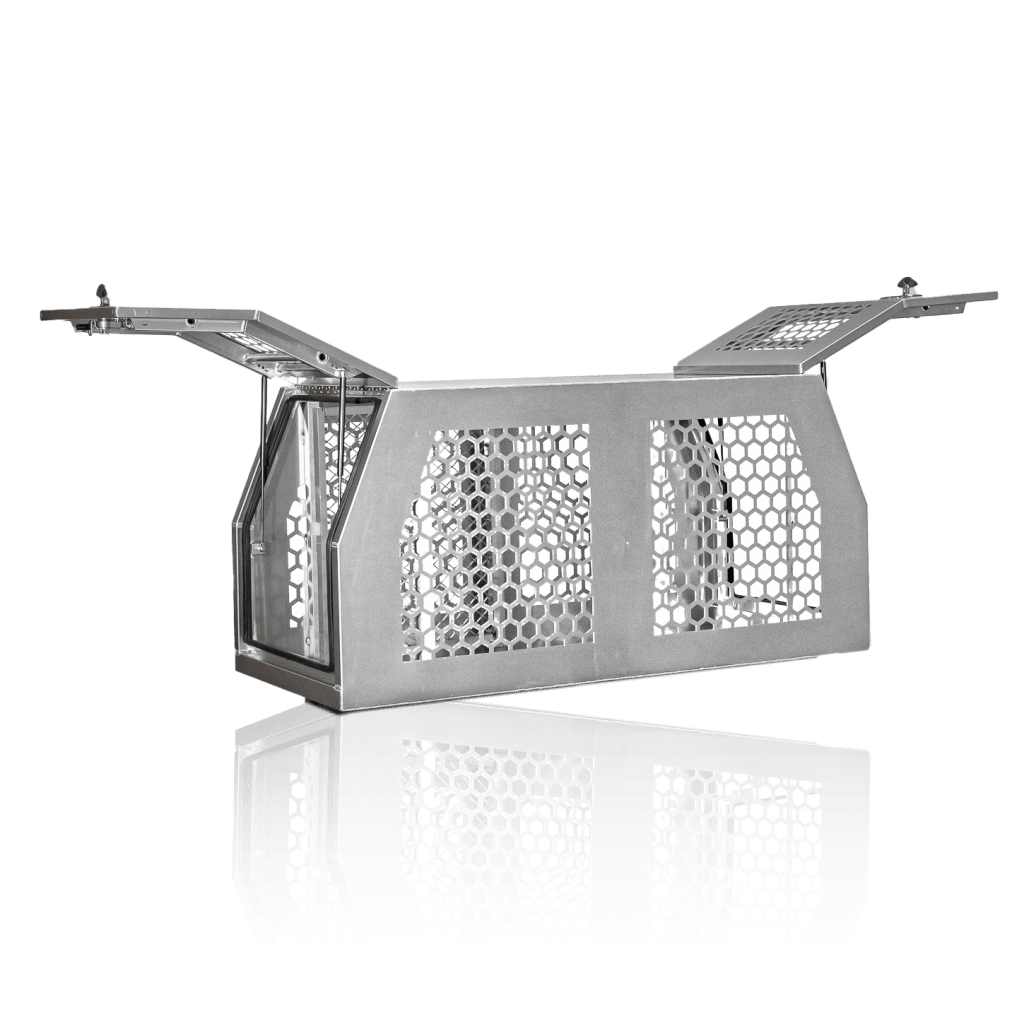
Choosing the right canopy for the job
Before diving into install techniques, it's worth taking a moment to check that your canopy actually suits your ute. Most issues during install come from getting the basics wrong: dimensions, mounting type or even just the finish. If you want to avoid headaches later, sort this part out before figuring out how to install a canopy on a ute.
Here’s what to double-check before you start:
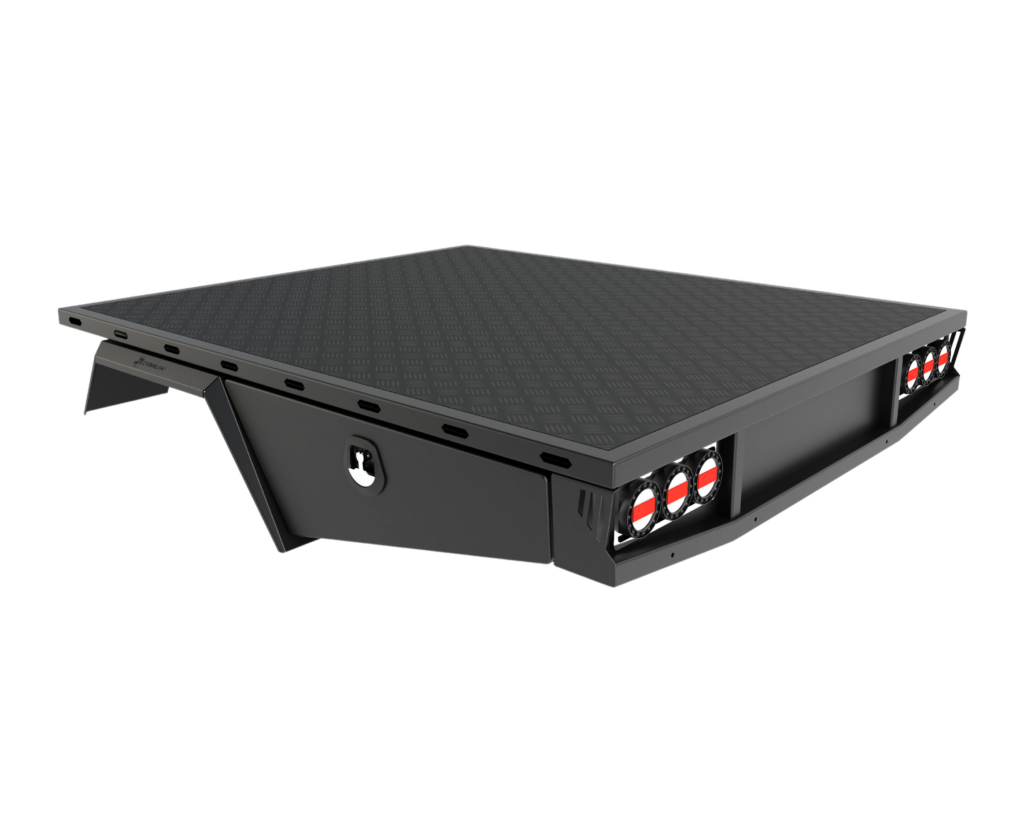
- Mounting surface — Are you installing the canopy onto a factory tub or a custom alloy tray? The answer changes how you mount the ute canopy. Tub-mount installs usually rely on clamp kits, while trays often need U-bolts or drill-through mounts. Always confirm which system the canopy is designed for.
- Dimensions — Don’t assume your canopy will sit flush. Measure the full width, length and height, and account for any overhang at the tailgate or near the cab. A poor fit can limit rear access, obstruct reverse cameras or cause rubbing against cab panels on rough roads.
- Weight distribution — Even lightweight canopies affect how your ute handles — especially once loaded with gear. Be aware of your gross vehicle mass (GVM), rear axle load and any suspension upgrades needed to support extra weight. If you’re adding rooftop accessories or planning a ute canopy solar setup, calculate those loads as well.
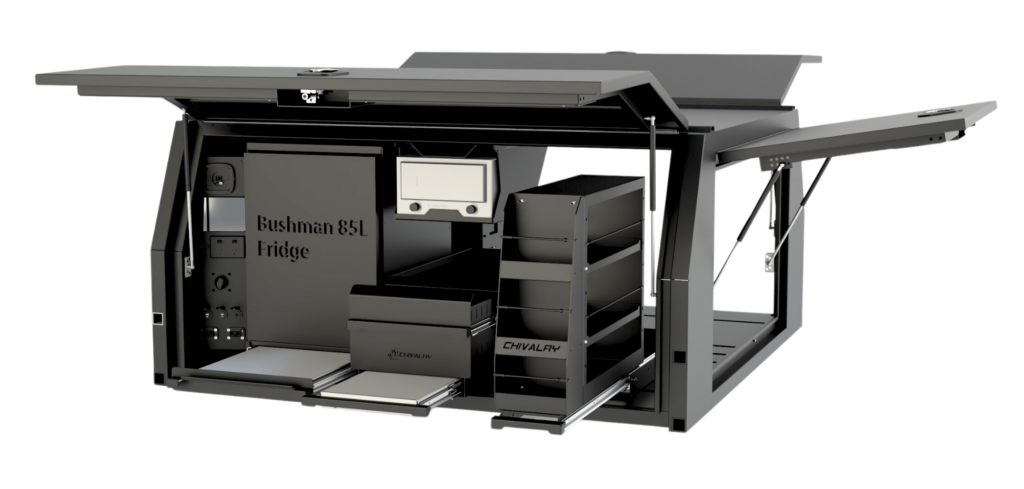
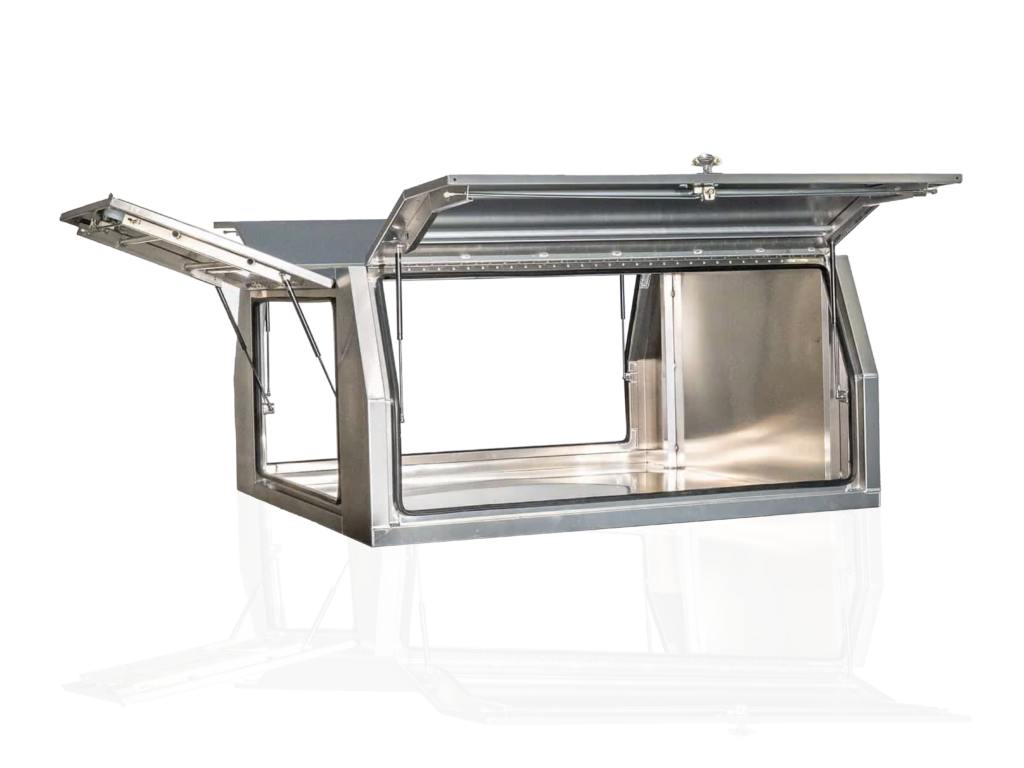
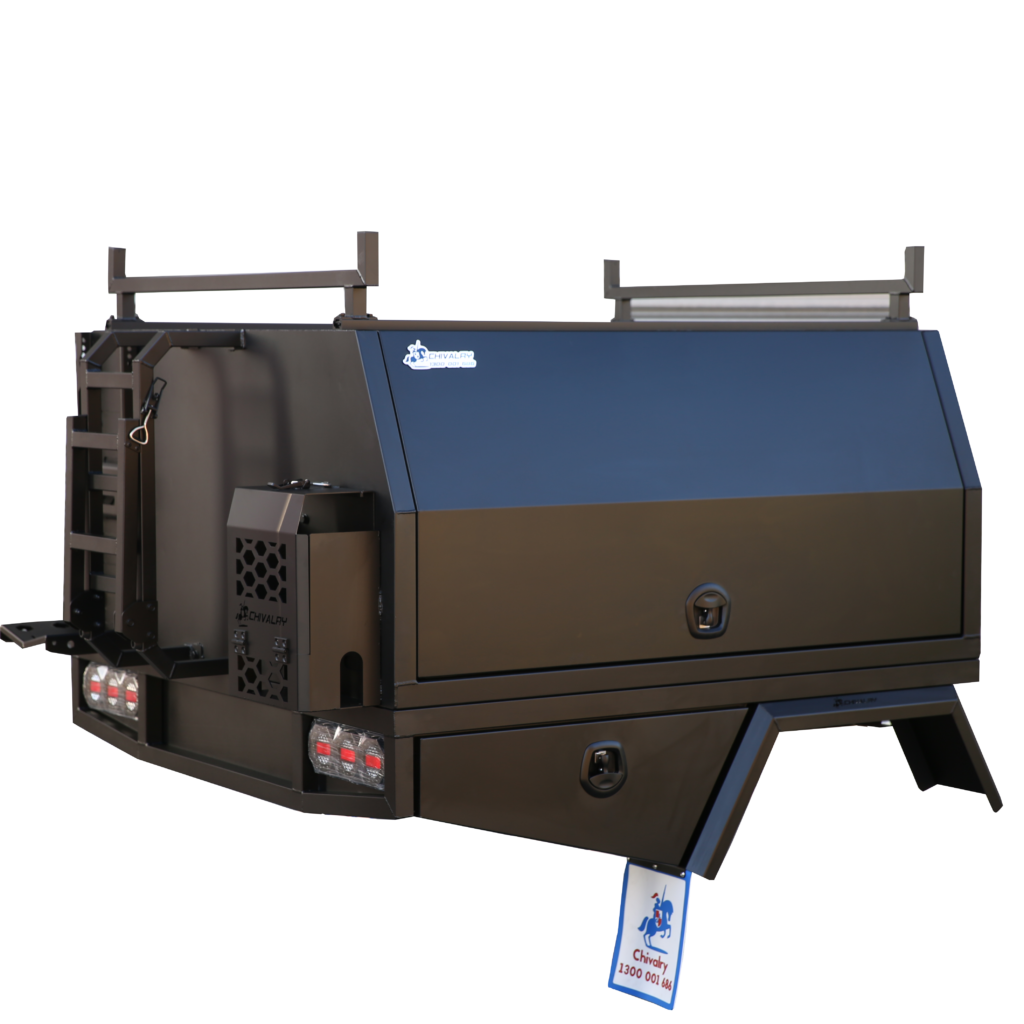
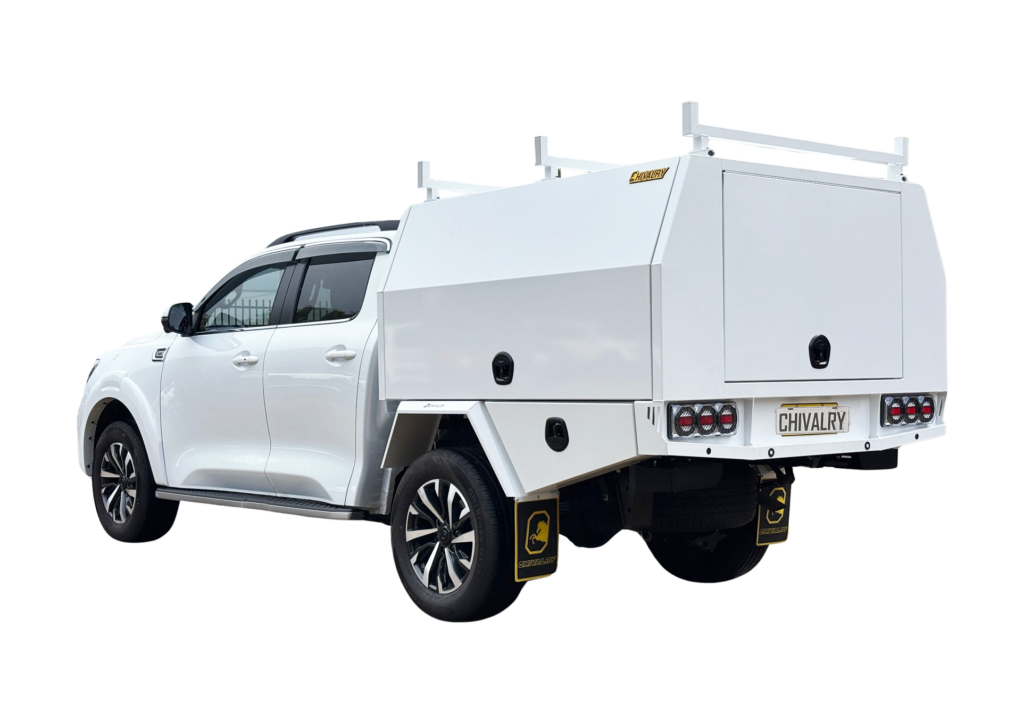
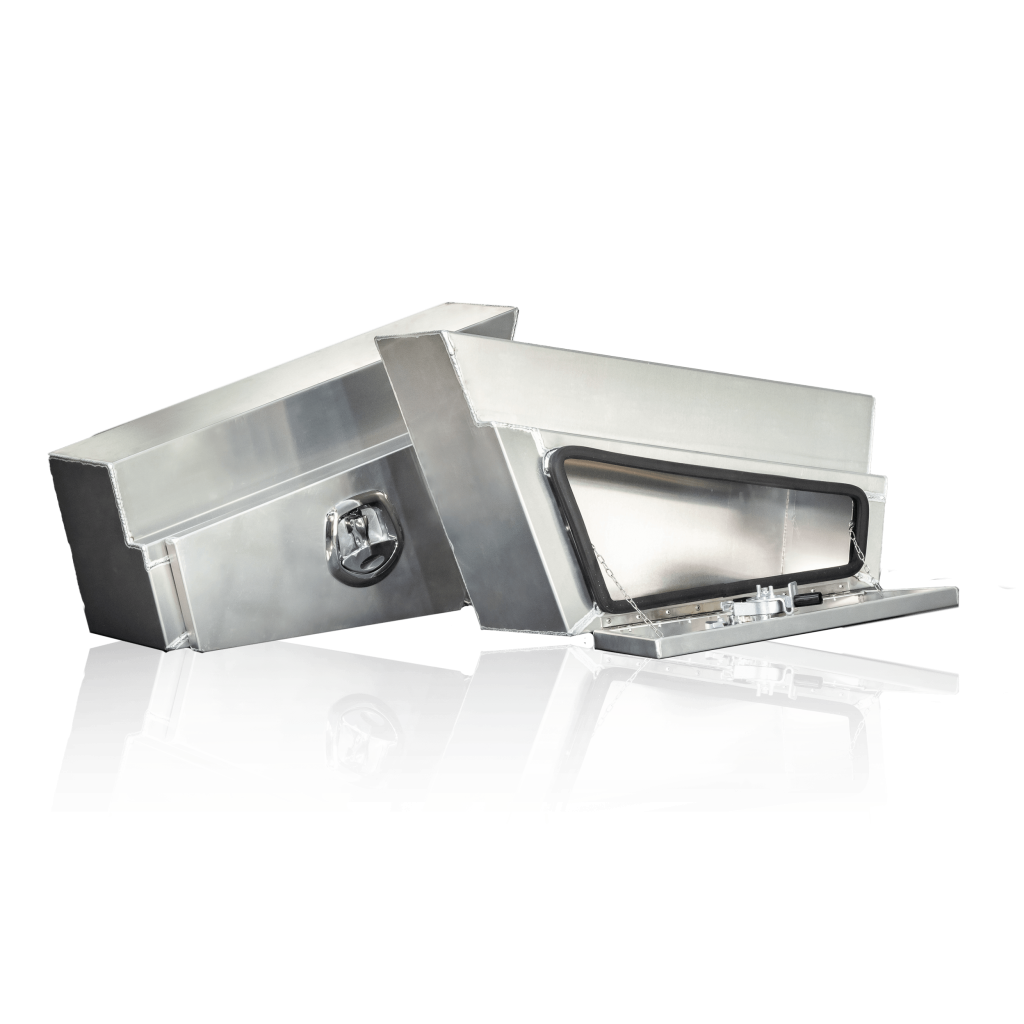
- Finish and material — A powder-coated aluminium canopy is easier to clean, seal, and maintain than raw alloy or painted steel. Aluminium resists rust and handles coastal and outback conditions better over time. If you’re installing extras like rooftop tents, 12V systems or solar panels, choose a canopy with reinforced internal bracing.
Once you’ve confirmed sizing, mounting compatibility, and loading limits, you’ll be set up for a smoother install — and fewer problems down the line.
Tools and materials checklist
Before you begin the install, gather everything you'll need. If you're not sure how to install ute canopy components correctly, starting with the right tools makes all the difference.
- Socket set and spanners
- Torque wrench
- Drill with metal bits (if drilling required)
- Silicone or automotive-grade sealant
- Rubber or neoprene mounting tape
- Measuring tape
- U-bolts, clamps or bolts (depending on canopy and tray type)
- Sikaflex or similar adhesive for waterproofing
You should also have someone available to help lift, as most aluminium canopies weigh between 80 and 120 kg.
Step-by-step: How to install a canopy on a ute
Installing a canopy doesn’t need to be difficult, but getting it right matters. Here’s how to mount a ute canopy step-by-step, safely and securely.
1. Prep the mounting surface
Clean the tray or tub surface thoroughly. Remove dust, rust or any grit that could affect the seal. Lay down rubber tape or a neoprene gasket where the canopy will make contact with the tray rails. This protects both surfaces and reduces vibration.
2. Position the canopy
With help, lift the canopy onto the tray or tub. Keep it centred and aligned with the sides and tailgate. Take measurements from both rear corners to the headboard — they should be equal. This ensures your canopy sits square, which helps with door alignment and seal performance.
3. Mark and drill (if required)
If your canopy or tray doesn’t use clamps or U-bolts, you’ll need to mark and drill mounting points manually. This is a key step in how to set up ute canopy systems securely. Measure twice, drill once and take care to avoid fuel lines, wiring, or underbody components when drilling through the tray floor or rails.
4. Bolt or clamp it down
Using the correct mounting method for your canopy type:
- U-bolts for mounting to tray rails
- Clamps for tub mounts
- Bolts through floor for permanent canopy installs
Tighten all bolts or clamps gradually and in a cross-pattern to keep the canopy level.
5. Seal any gaps
Run a bead of sealant (such as Sikaflex) around the base where the canopy meets the tray or tub rails. Focus especially on corners and any boltholes you’ve drilled. This step is key to preventing dust, water, and noise from getting inside.
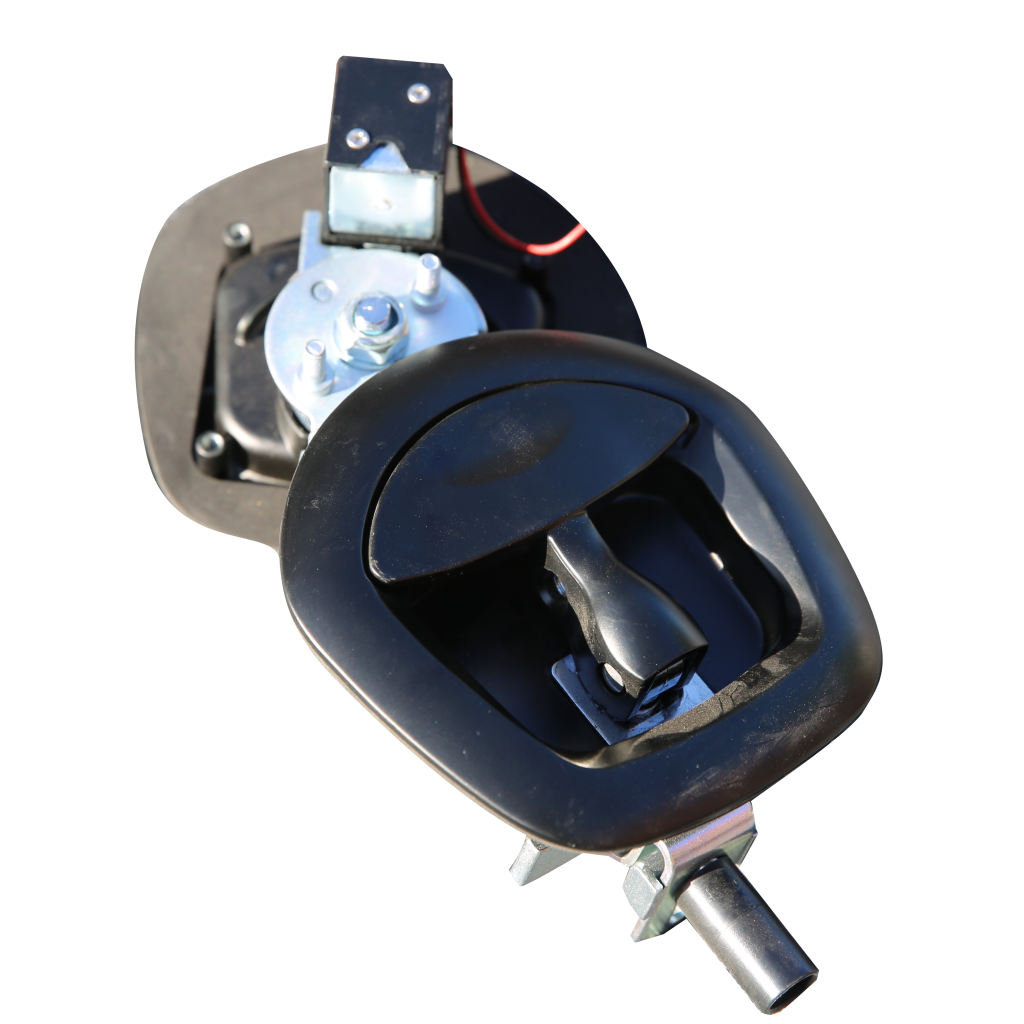
6. Connect electricals (optional)
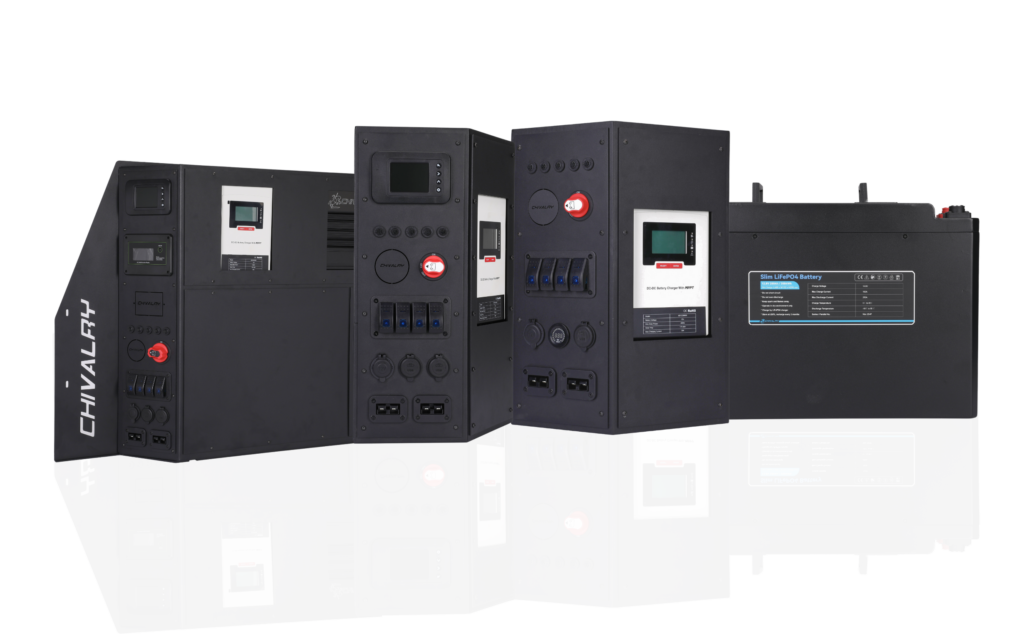
If your canopy includes lights, a fridge, or a 12V power system, this is the time to run your wiring. It’s a key part of how to set up a ute canopy that’s functional and ready for longer trips. Use gland seals or rubber grommets where cables pass through metal, secure all wiring with clips or conduit, and make sure fuses are installed where needed for safety.
If you’re planning a ute canopy solar setup, leave room on the roof for panels and run cables neatly through waterproof ports.
7. Test, check and drive
Close and latch all doors. Check for even spacing and smooth operation. Inspect seals, confirm the canopy doesn’t shift or rattle, and double-check all fasteners after your first few drives.
Other considerations before hitting the road
Installing your canopy is only part of the setup. To get the most out of it — and avoid issues down the track — it’s worth taking a few extra steps. These practical checks around load limits, internal layout and weatherproofing will help keep your ute canopy reliable, legal and ready for whatever you throw at it.
- Load ratings and legal compliance — Even a lightweight canopy adds load once you factor in tools, water, solar panels or drawers. It’s easy to go over your GVM or rear axle rating. Make sure your setup is within spec and check that it complies with state laws, especially if the canopy reduces visibility or changes vehicle dimensions.
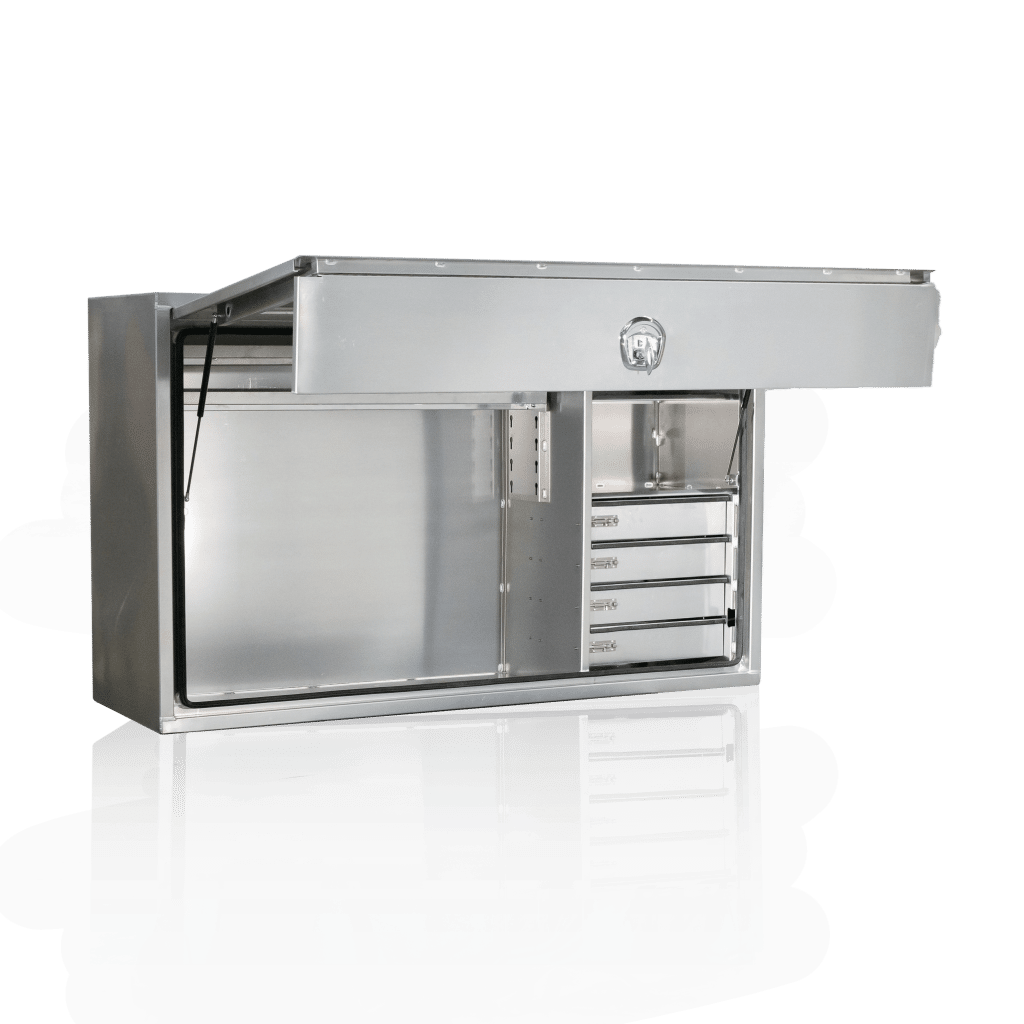
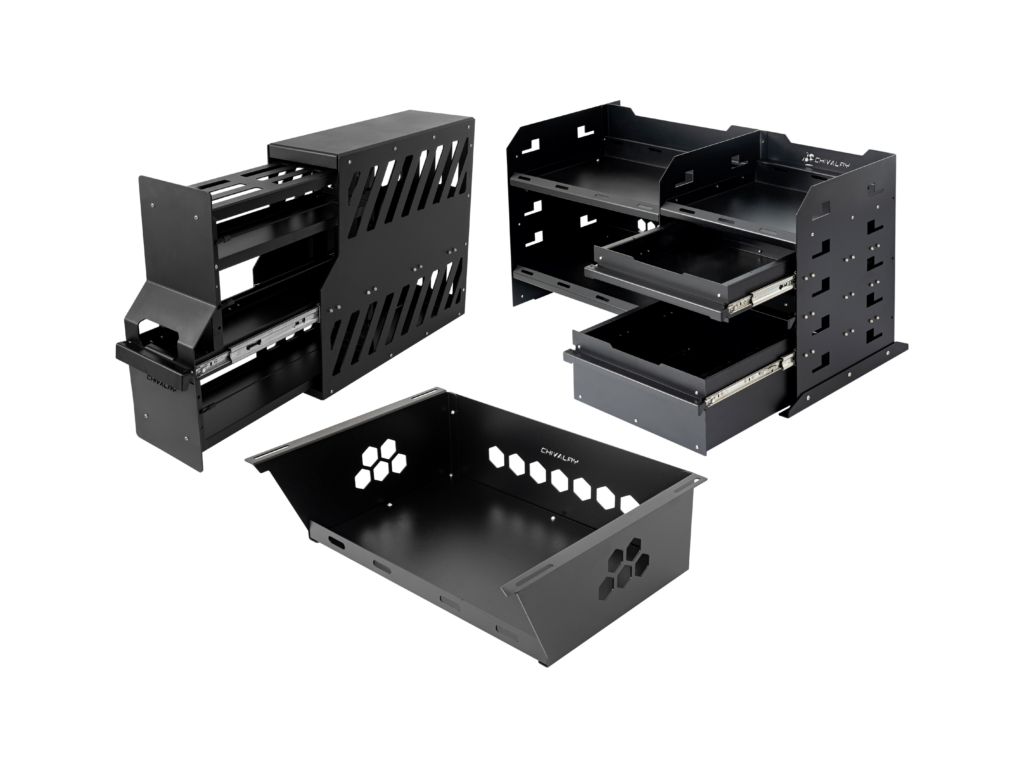
- Security and storage layout — Once you've learned how to install a canopy on a ute, the next step is planning an interior layout that keeps everything secure and easy to access. Drawer systems, fridge slides and charging stations are all worth considering. If you're carrying pets or sensitive equipment, proper ventilation and separation are just as important.
- Weatherproofing and dust control — Seal up all drill holes with silicone and consider adding roof or side vents to help airflow. Compression locks and dust plugs help keep water and red dust out — especially if you're heading off-road or storing electronics and power systems.
Need a Canopy That’s Easy to Mount?
At Oz Chivalry, we offer aluminium ute canopies made for DIY installation with reinforced mounting points, clean panel lines, and multiple options for U-bolts, clamps, or bolt-through setups. If you’re learning how to install a canopy on a ute, starting with a canopy that fits properly and mounts easily makes all the difference.
Our canopies come pre-finished with weatherproof seals, internal bracing for drawers and accessories, and are ready for rooftop systems, 12V setups, and solar panel installations. We make it easier to get a solid, secure fit without cutting corners.
Check out our available canopies or reach out for advice on a custom setup that suits your vehicle and how you plan to use it.