For carpenters, their ute is their rolling workshop, tool vault and mobile storage system. With all the work that happens out of the back of it, the setup needs to be secure, organised and practical — not just for today’s job, but for whatever’s coming up next.
This guide covers what makes a great carpenter ute setup, from canopy or tray configuration to tool storage, charging systems, material handling and the small add-ons that make a big difference on site. Fit kitchens, frame walls and switch between projects all week with a carpenter’s ute setup that keeps up.
1. Start with the right canopy or tray setup
Every good ute build starts with a base that suits your trade. For carpenters, that usually comes down to choosing between a canopy and an open tray.
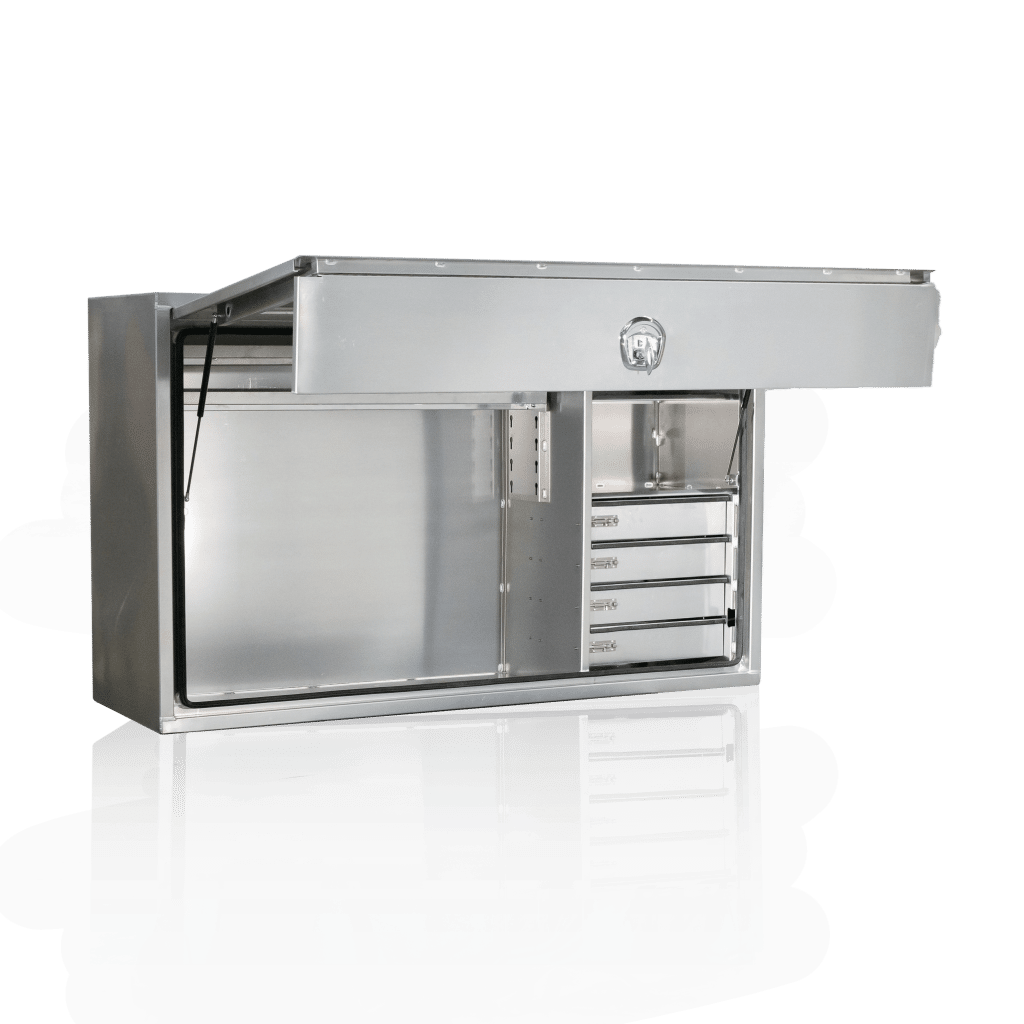
Canopy setups
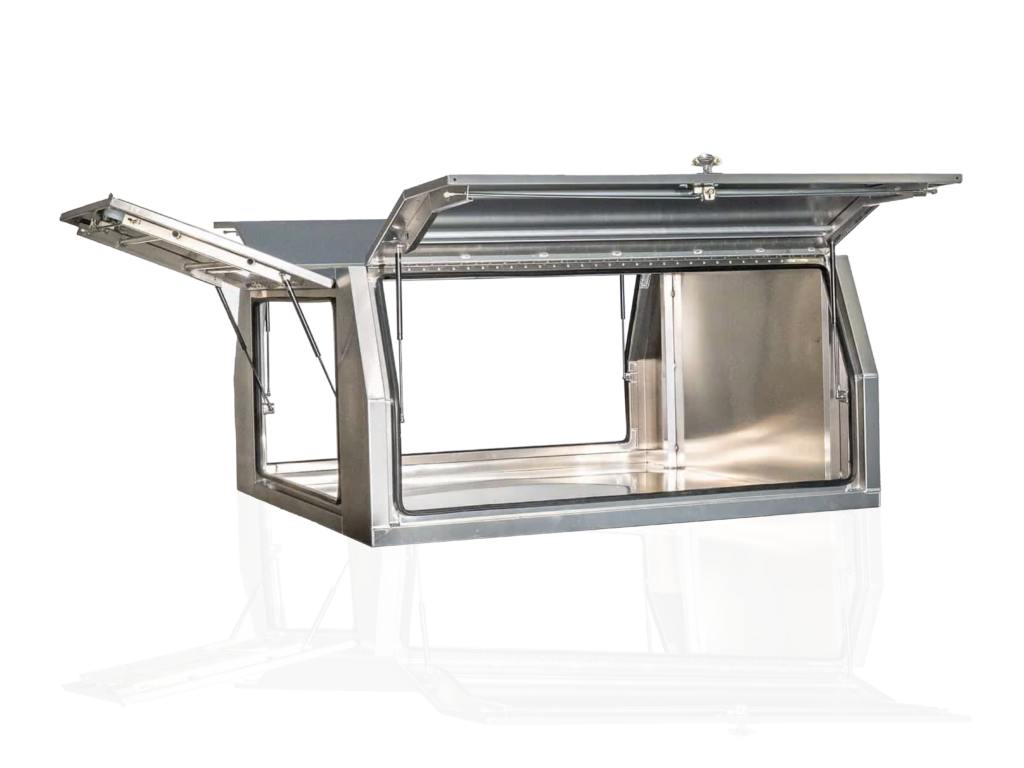
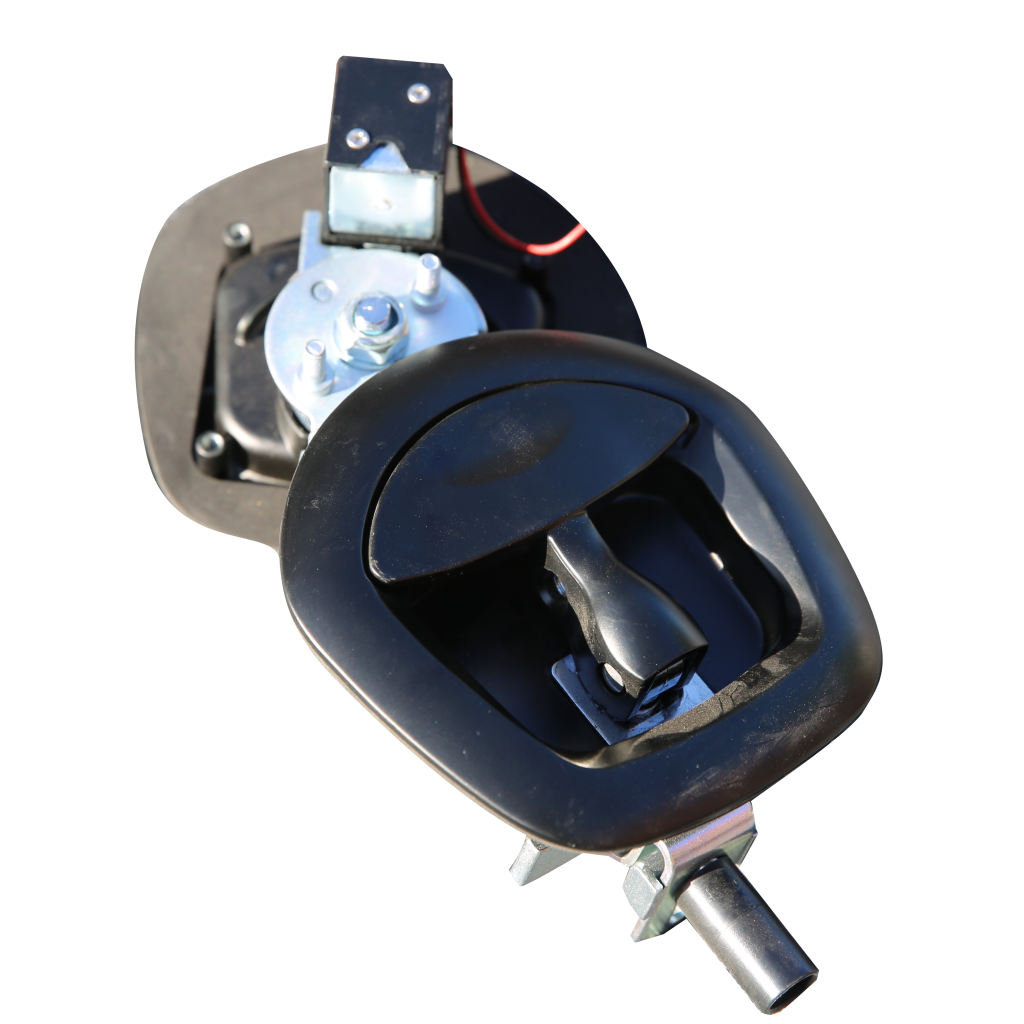
A full canopy offers secure, enclosed storage that protects tools and materials from the weather and theft. This is ideal for carpenters who carry high-value tools, sensitive fixings or power equipment like laser levels and drop saws.
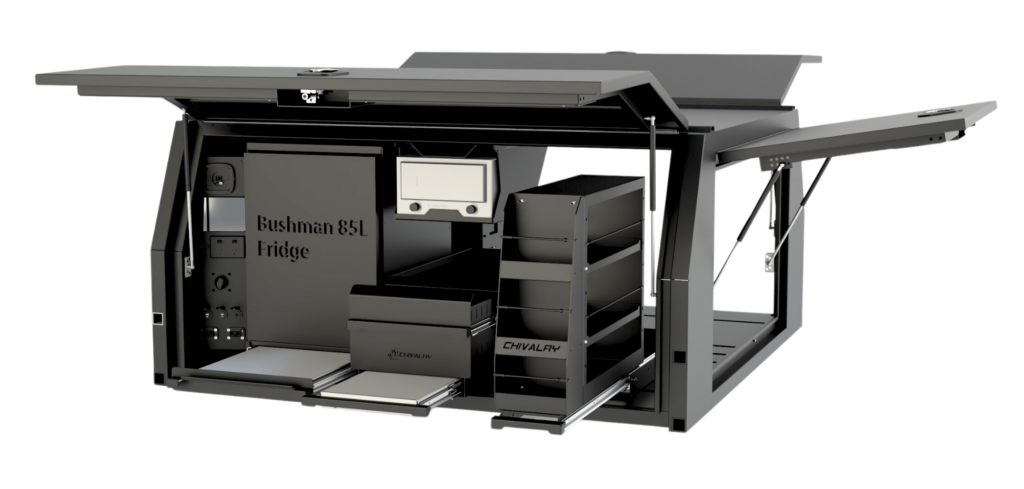
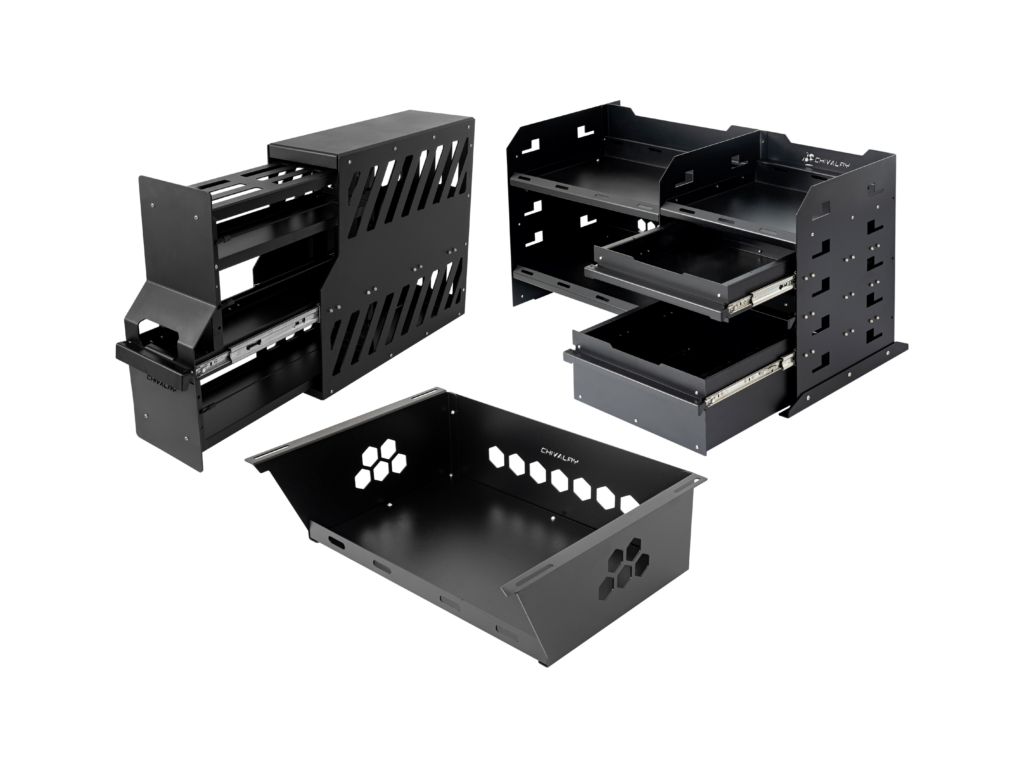
Within the canopy, you can build modular storage systems. Use drawers for fasteners and fittings, fixed shelving for power tools and fridge slides or 12V charging stations for cordless gear.
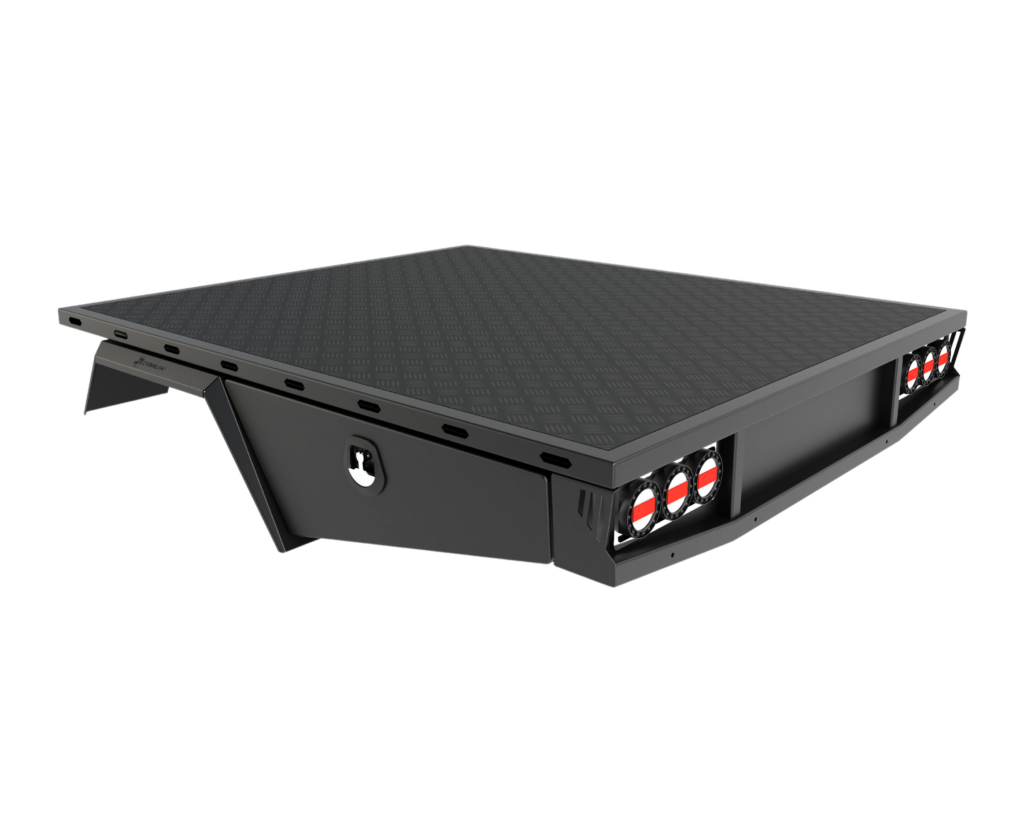
Open tray setups
An open tray gives you more flexibility for long or bulky loads. This is perfect if you’re regularly carrying sheets of ply, MDF, full-length framing timber or door jambs. You can still add lockable under-tray boxes or a half canopy for tool storage while leaving space for building materials.
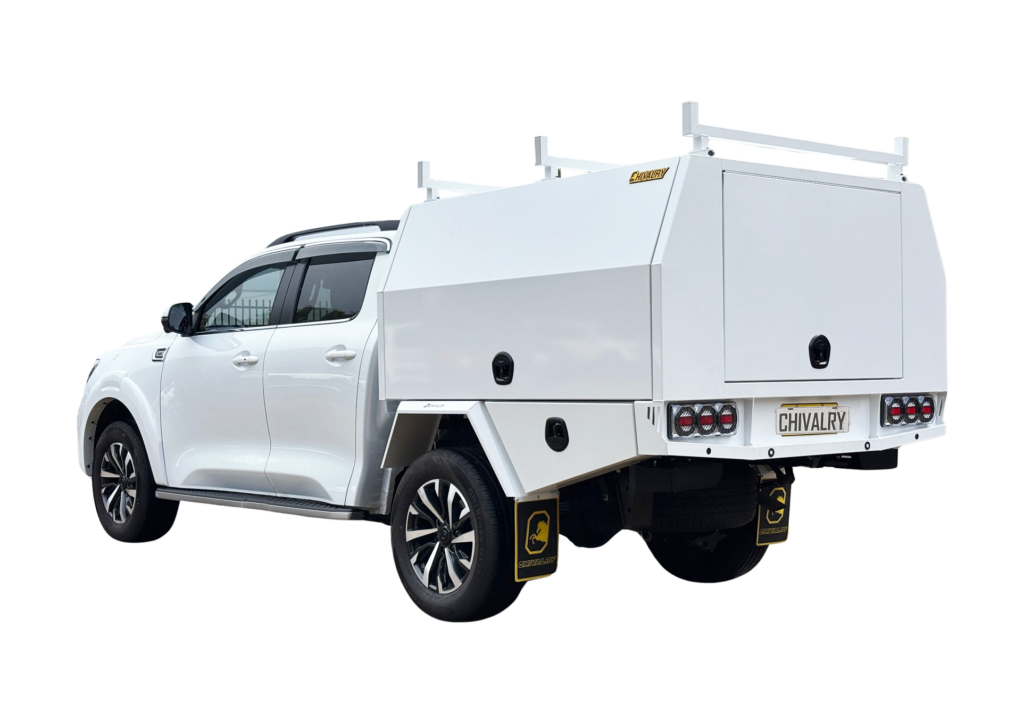
Consider running a hybrid carpenter’s ute setup: one side of the tray houses a canopy with organised tools, and the other side remains open for material transport.
2. Build a secure and accessible tool storage
Every minute you waste digging for a tool is a minute lost on the job. A smart carpenter’s ute setup should let you get in, grab what you need and get back to work without rummaging or repacking.
Drawer systems
Install heavy-duty drawer units in your canopy or tray. Use shallow drawers for hand tools, fixings, and screws; deeper drawers for saws, sanders, and routers. Label everything and group by task. For instance, you can store framing tools in one drawer and finish tools in another.
Toolbox layout
If you're running side-opening toolboxes, fit them with foam cutouts or custom inserts to keep tools from sliding. Use adjustable shelving to make use of vertical space and keep consumables like nails, adhesives and brackets in view.
Under-tray boxes
Mount lockable under-tray boxes for items you don’t use every day but still need on-site — ratchet straps, levels, PPE, or backup hand tools. These boxes are out of the way but still accessible.
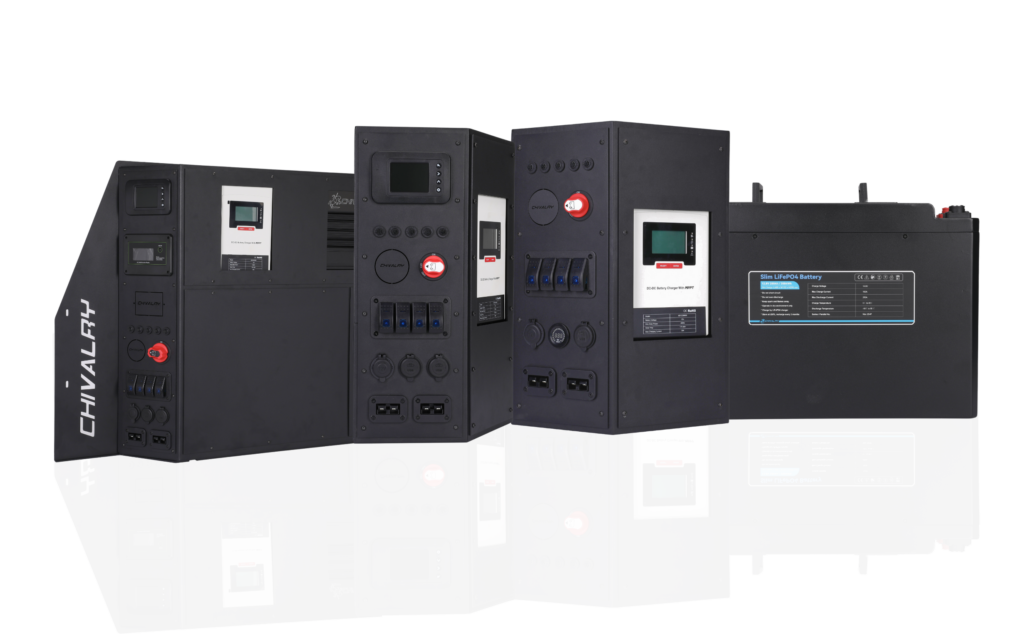
3. Incorporate electricals for power on-the-go
Running out of battery mid-job or needing to return to the workshop for charging is inefficient, especially if you’re moving across jobs or working in remote locations. That’s why many carpenters include a 12V setup as part of their ute build.
Dual battery system
Install a dual battery system in your canopy to keep tools charging without risking your main battery. Pair it with a DC-DC charger to ensure you’re safely topping up while driving.
Inverter and outlets
Add a 300–1000W inverter if you’re running small 240V tools or charging laptop/tablet devices. Fit USB outlets near drawers so you can charge batteries while the vehicle’s in motion or parked up.
Ute solar setup
If you're off-grid or on-site all day, a ute solar panel setup helps keep your batteries topped up without running the engine. Roof-mounted panels feed into your dual battery system to power lights, chargers, and even a small fridge if needed.
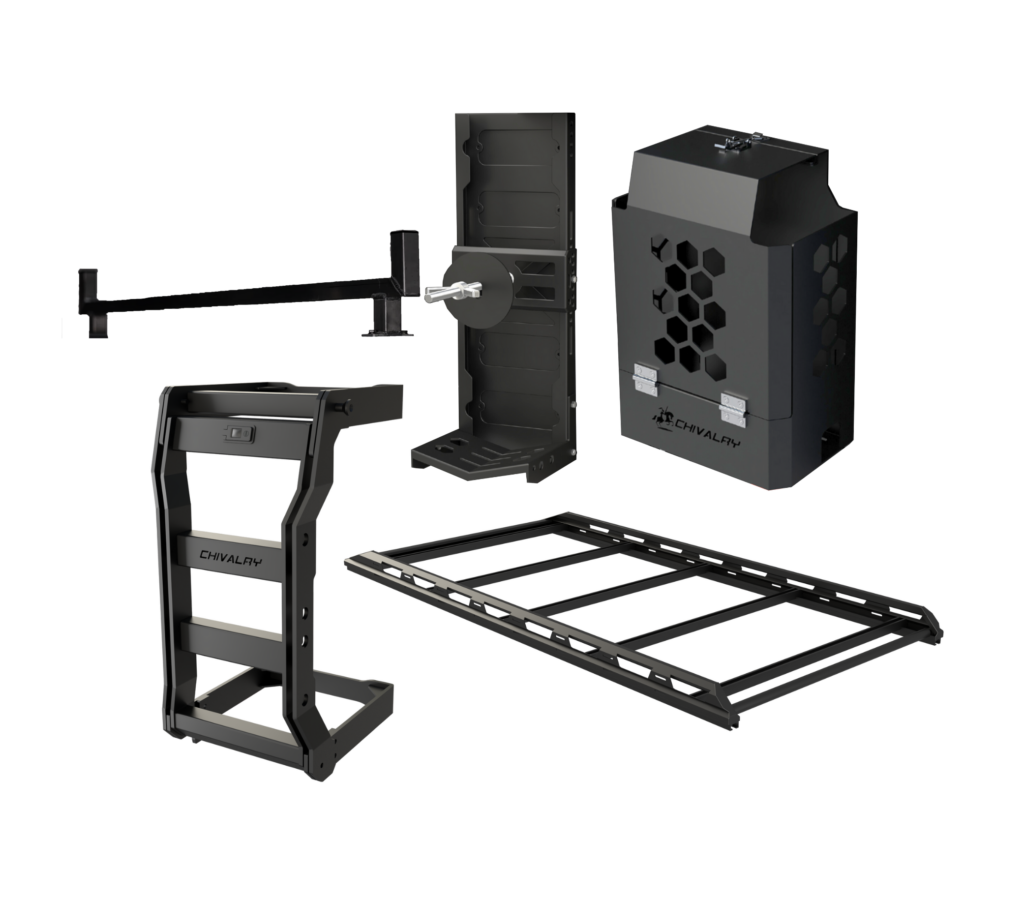
4. Make room for materials and ladders
Carpenters often juggle a mix of sheet goods, framing timber, trims, and hardware. Your carpenter’s ute setup needs to handle all of it, without damaging anything or making loading a chore.
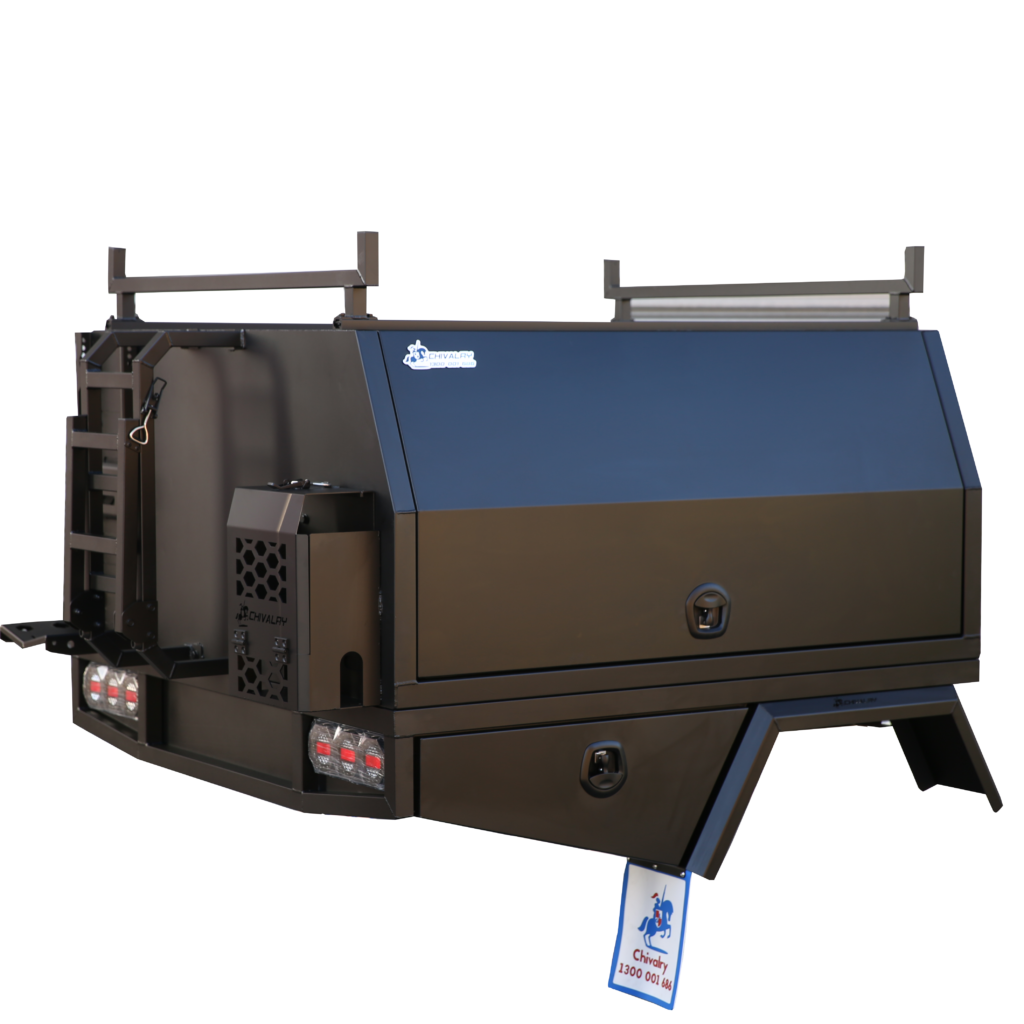
Roof racks and ladder mounts
Install a heavy-duty roof rack for long items like ladders, conduit, or trim. Use adjustable ladder clamps or quick-lock systems to make loading faster and safer.
Material tray space
Even if you’re running a full canopy, consider leaving enough tray space (or adding slide-out trays) to carry ply, MDF or lengths of framing timber. A removable rear hoop or rack lets you support longer items without hanging them out dangerously.
Sheet protection
Use a rubber mat or ply lining on the tray floor to stop sheets from sliding or getting scratched during transport. Tie-down rails or cleats help keep everything stable during the drive.
5. Consider lighting, organisation and extras
A professional carpenter’s ute setup works just as well in low light as it does at midday. Plus, the little touches — the ones that save 30 seconds 10 times a day — add up to serious efficiency over time.
Internal LED lighting
Install strip or puck lights in the canopy so you’re not hunting in the dark before sunrise or after knock-off. Connect these to your 12V system with a simple switch.
Workbench pull-outs
Some setups include a fold-down workbench or slide-out table built into the canopy or tailgate. This gives you a stable surface for cutting, clamping or layout work. These are especially handy on tight job sites.
Label everything
Use clear labels or colour coding to group tools and consumables. Group by task: fixing hardware together, electrical fittings together, cabinetry tools in one drawer. It saves time and reduces frustration, especially on multi-trade sites.
6. Build a carpenter’s ute setup for flexibility — then customise
No two carpenters work the same. That’s why the best carpenter ute setups are modular and easy to adjust. Start with strong mounting points, simple drawer units and standard-sized storage, then customise as your needs evolve.
Leave space to upgrade your power system, expand your tool range or adjust your tray layout for different types of jobs. The more adaptable your ute is, the longer it’ll serve your business.
Build a better carpenter’s ute setup with Oz Chivalry
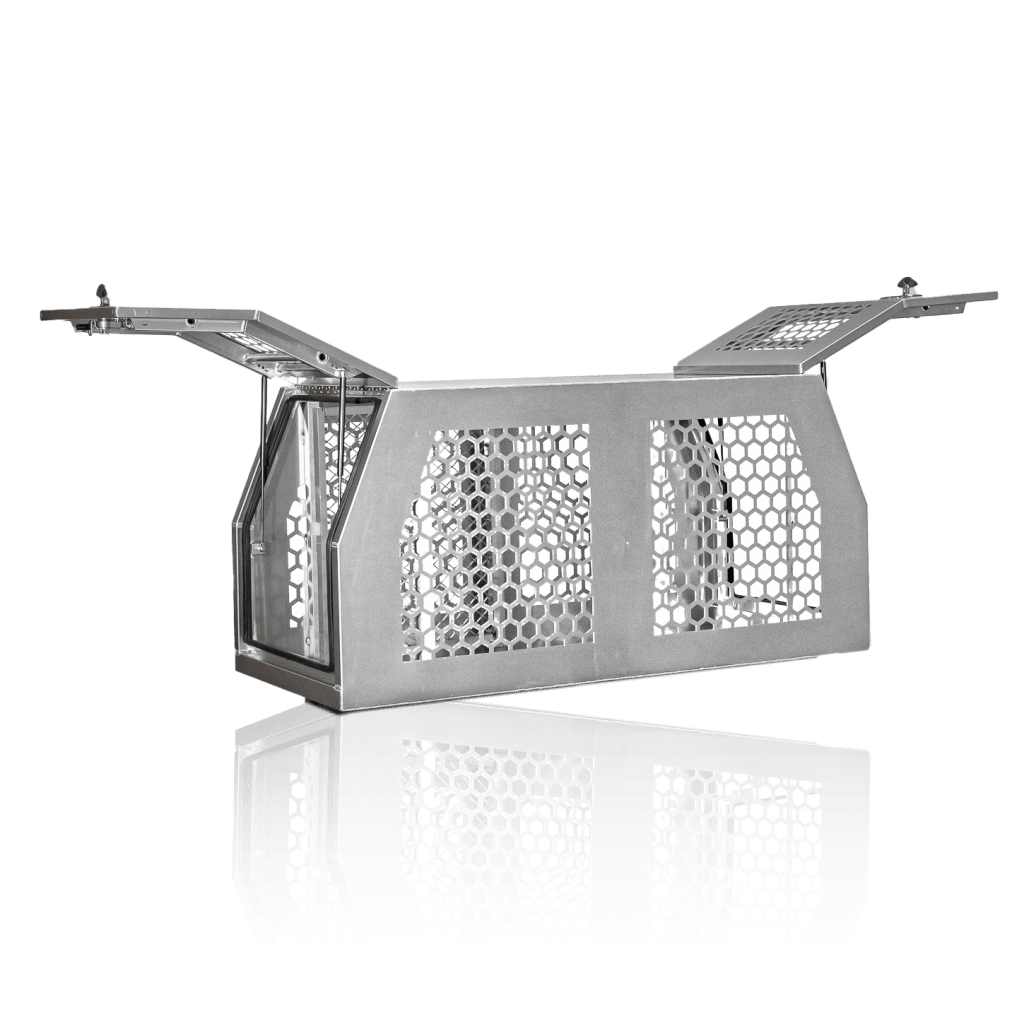
Get a carpenter’s ute setup that meets the needs of your trade. At Oz Chivalry, we design aluminium ute canopies with reinforced bracing for drawer systems, ladder racks, rooftop storage and internal layouts that support tool organisation, charging setups and site-ready access.
We can help you get set up with a ute that is dust-resistant, water-sealed and tough enough for daily use on construction sites and installation jobs. Our modular designs make it easy to add power station systems, solar panels or slide-out workstations, so your ute works exactly the way you need it to.
Start with a canopy that can handle the workday, protect your gear and keep your tools exactly where you need them. Speak to our team to plan a configuration that fits your trade, your tools, and your workflow.