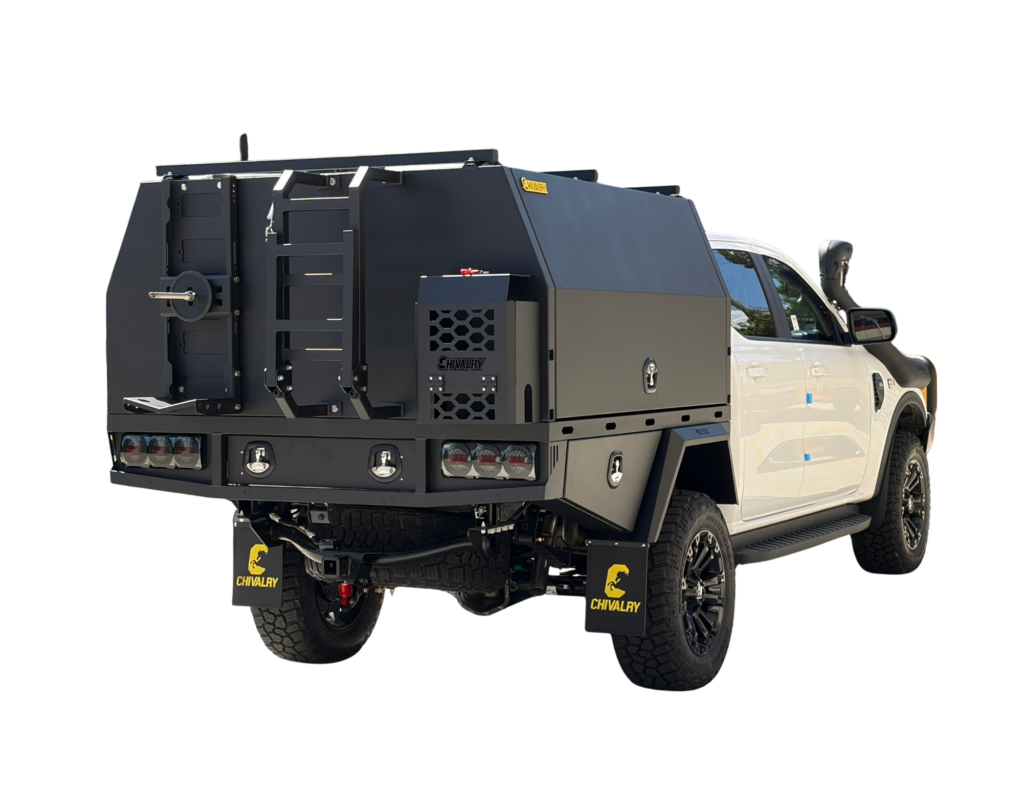
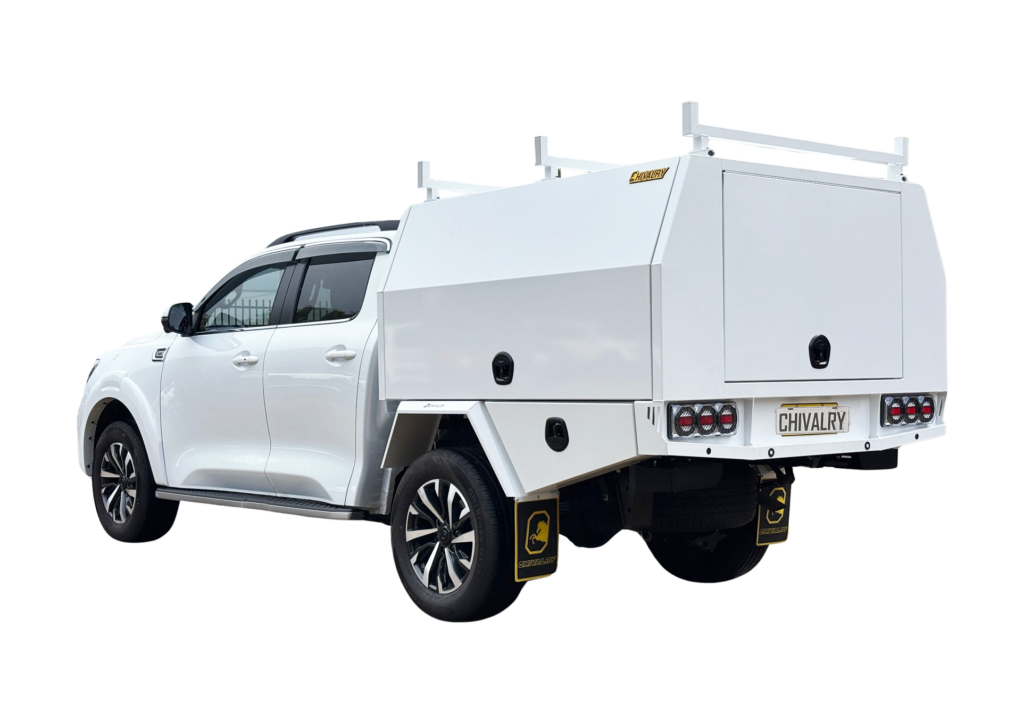
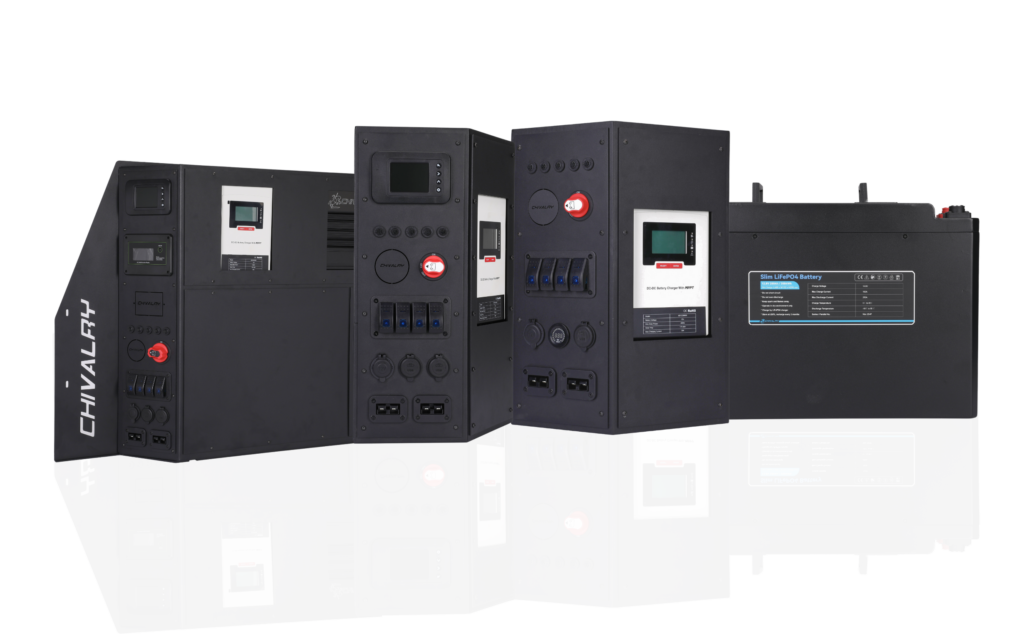
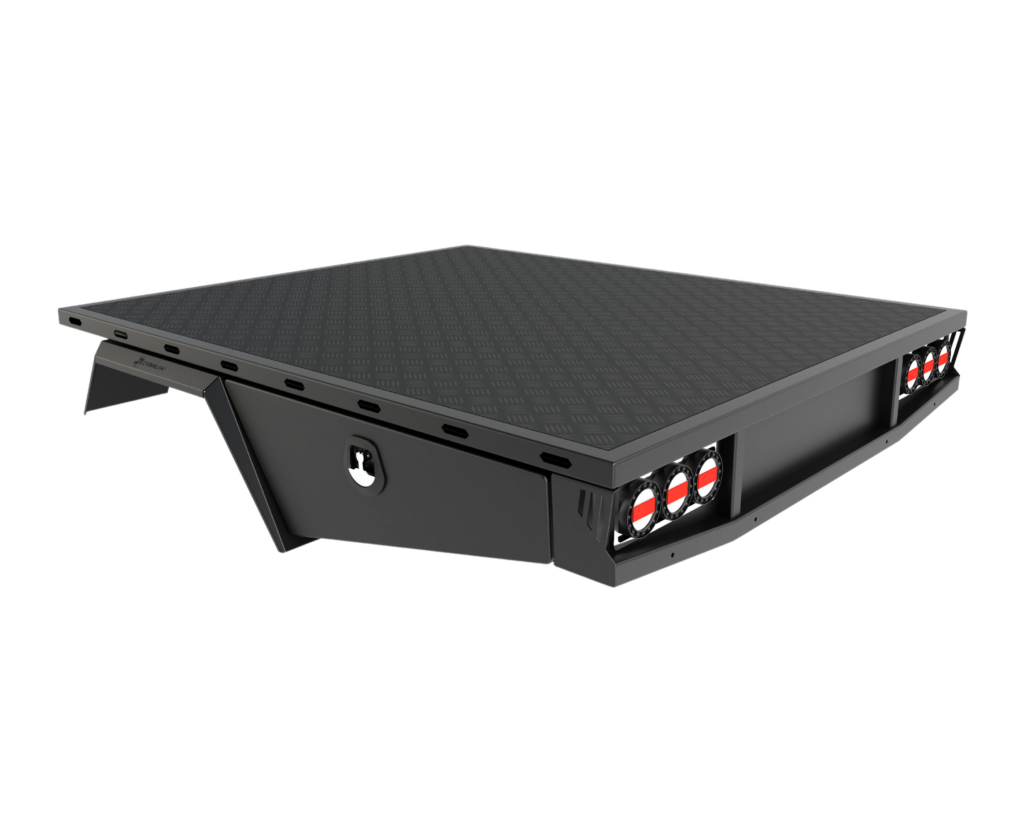
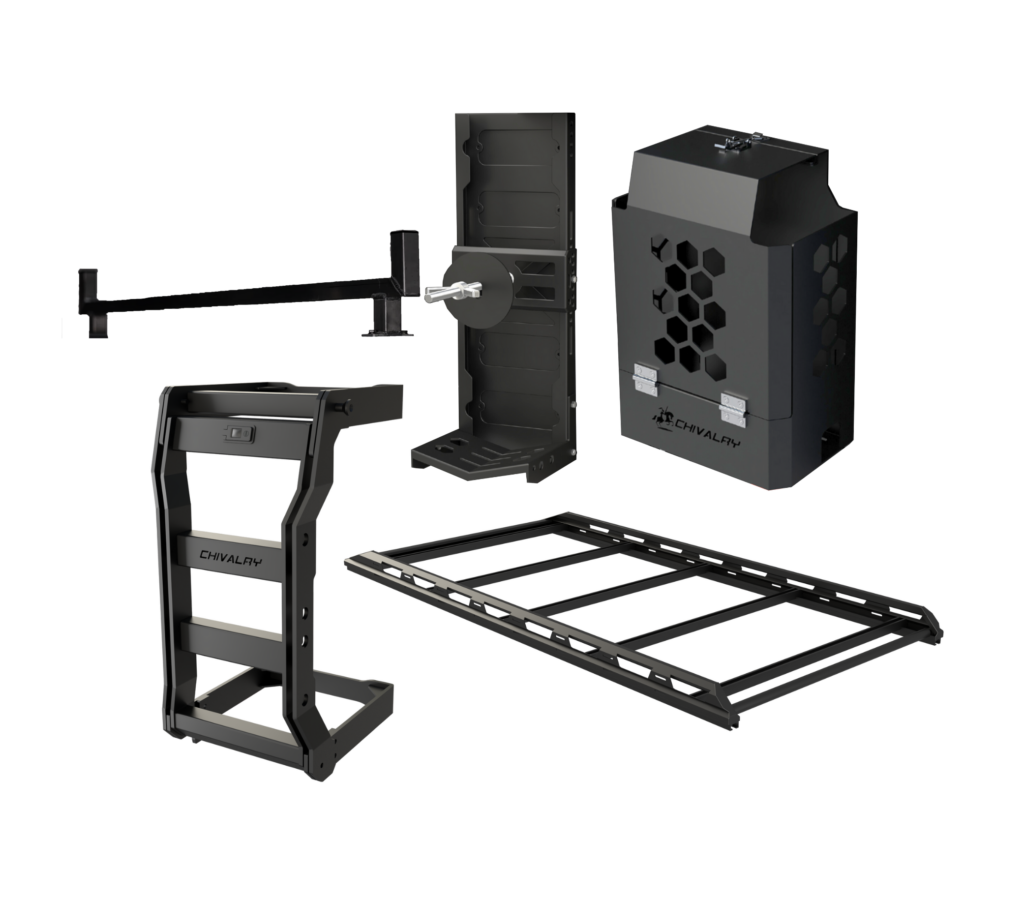
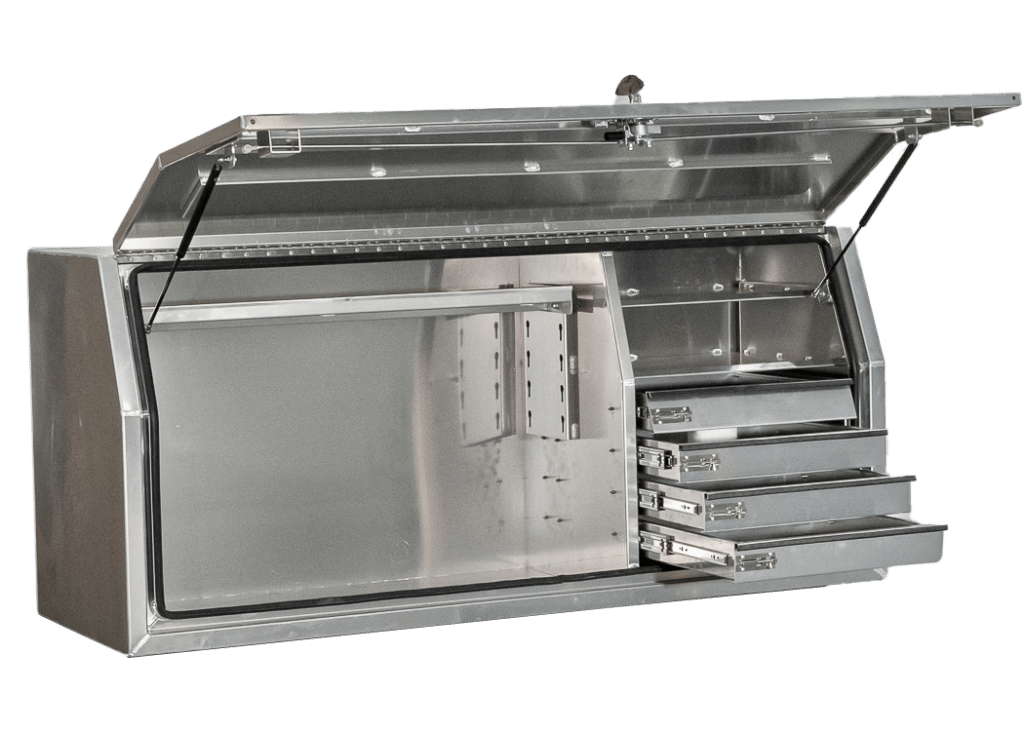
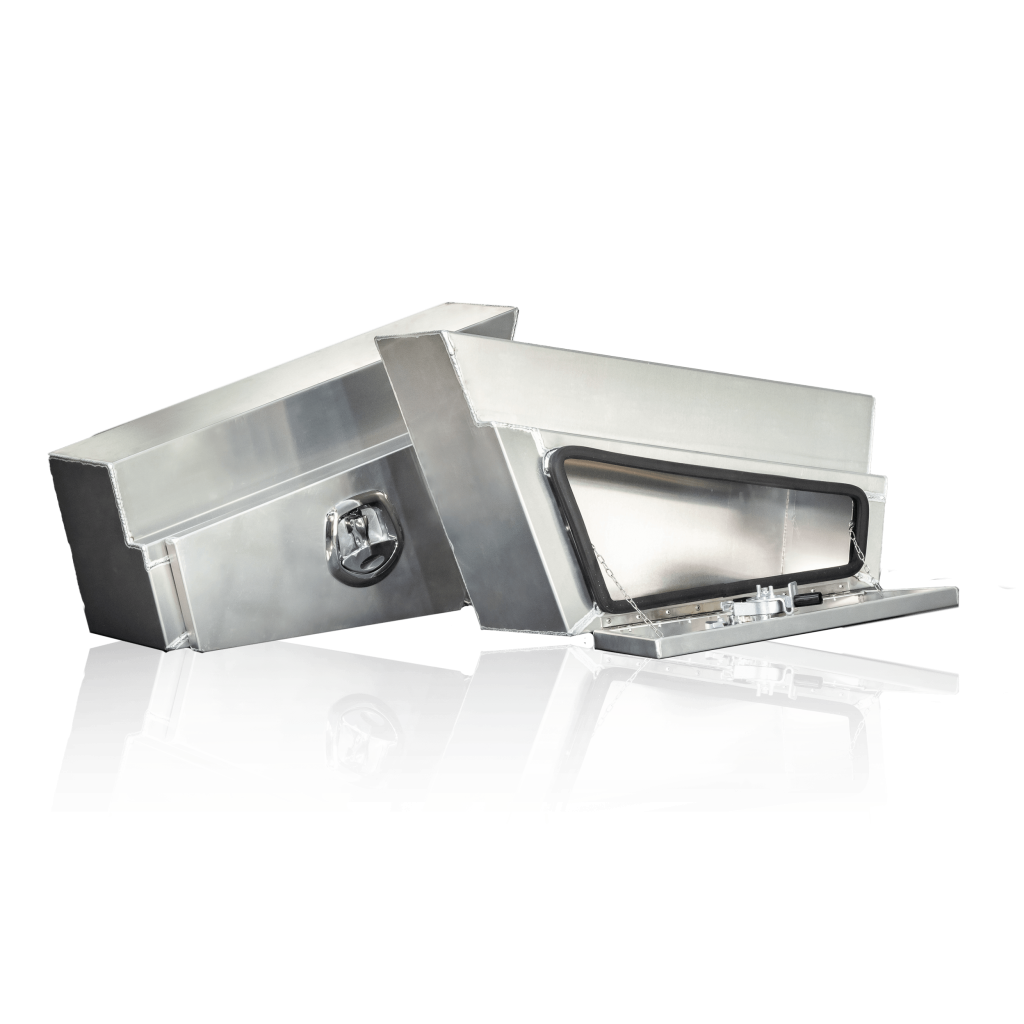
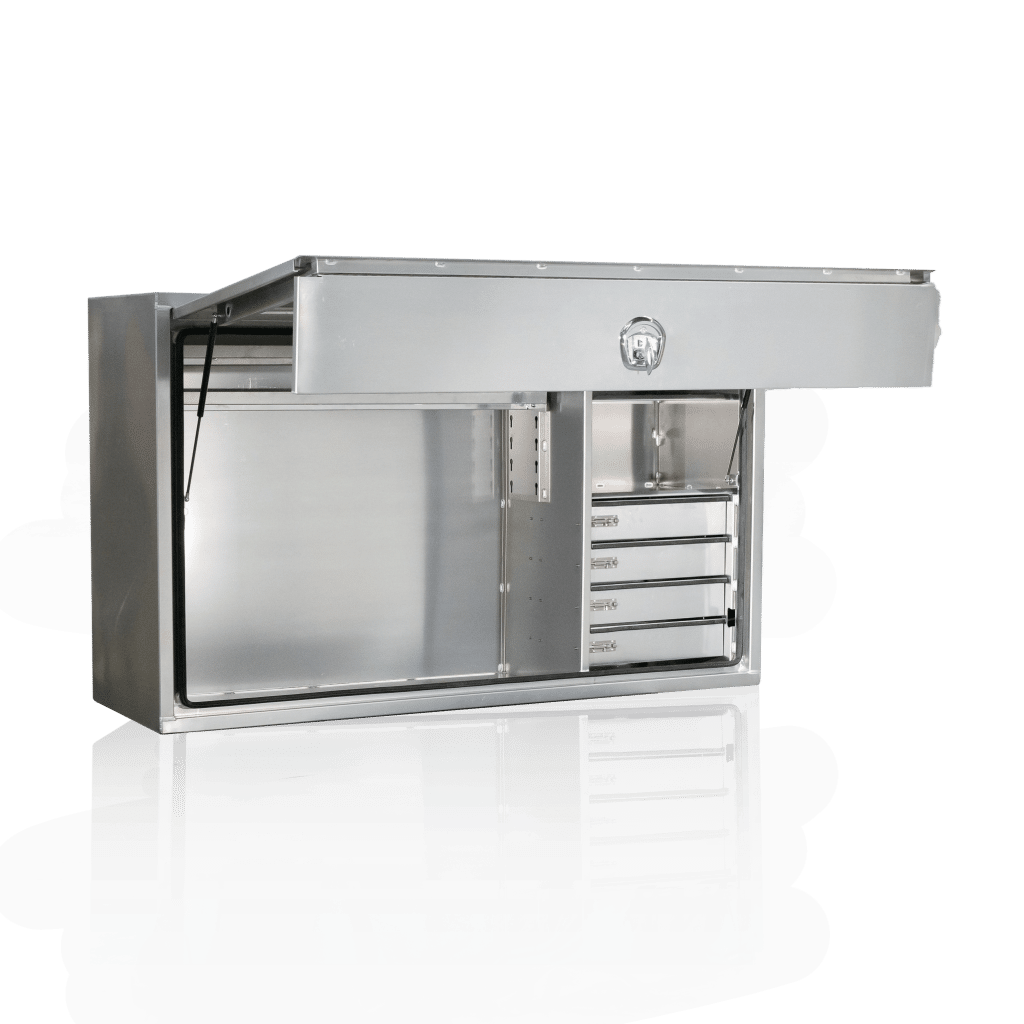
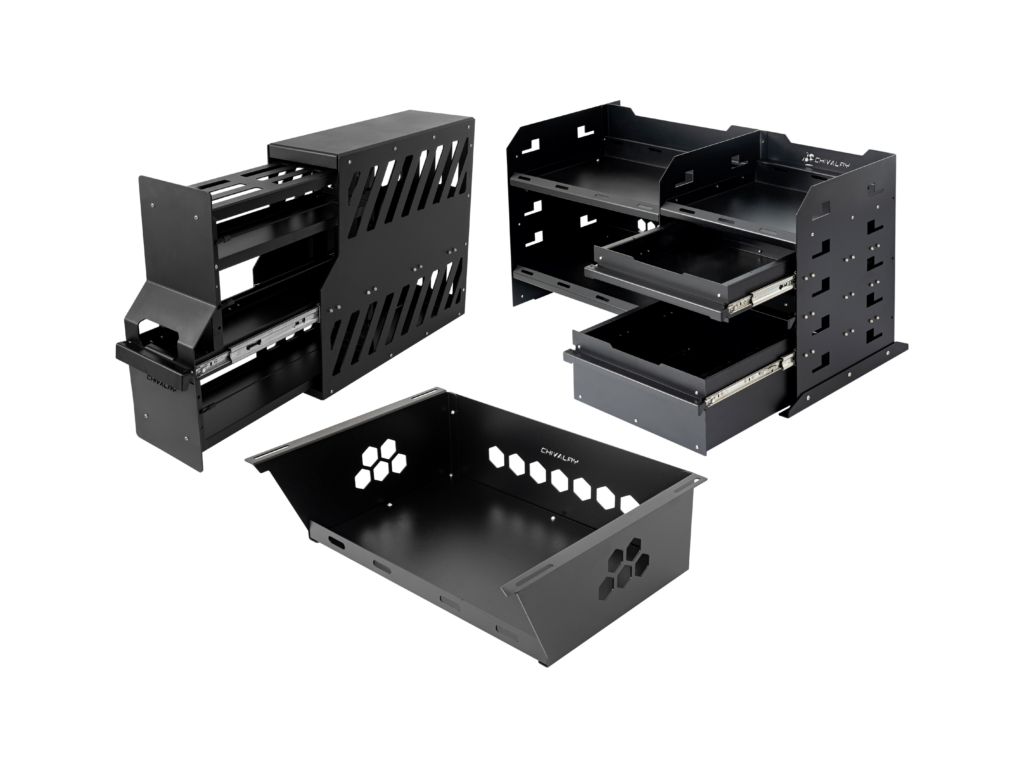
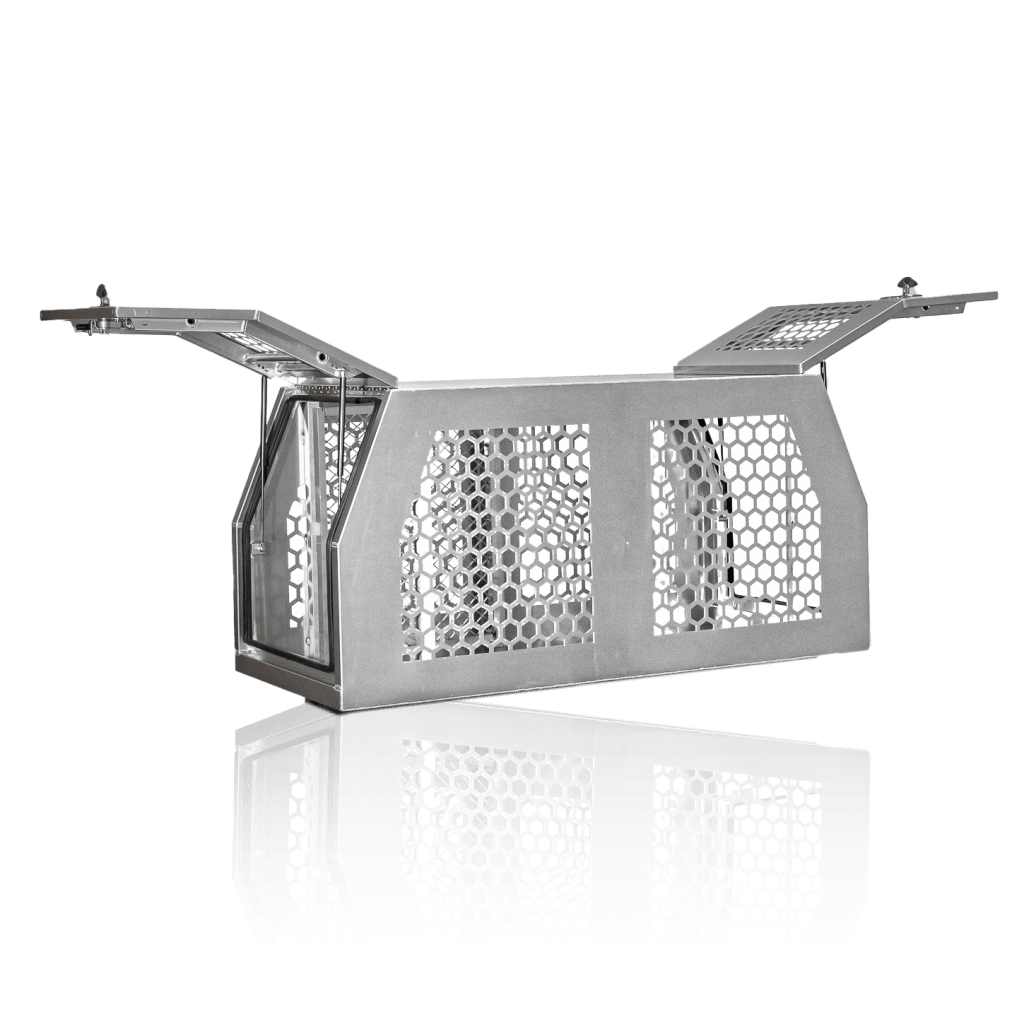
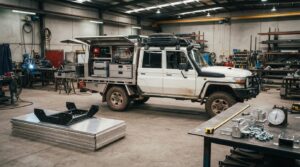
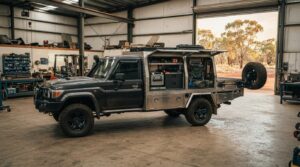
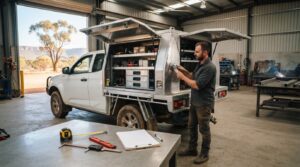
A practical dual cab ute tray layout starts with what you carry, not the accessories you can bolt on. Drawers, racks and extra storage all use space and add weight, so each needs to earn its place. The tray must also suit your specific vehicle, not just look right in a catalogue.
Start with the jobs your ute does most often. A trade setup may need quick access to daily tools and room for materials. A touring setup may need secure storage for smaller gear and open deck space for bulkier items. Either way, plan around the vehicle’s carrying limits and how you load and unload it.
This guide walks you through vehicle fitment, regular loads, access and payload so you can plan the tray, canopy and storage as one setup. Chivalry Trays and Canopies designs and manufactures aluminium trays and custom fabrications tailored to vehicle specifications and practical work or recreational needs.
Key Takeaways
- Start with the main job your dual cab ute tray needs to handle, then prioritise the gear you carry most often.
- Use your vehicle’s specific details and measurements instead of assuming another dual cab’s dimensions will match.
- Compare open-deck, toolbox-focused and mixed-use layouts by access, load flexibility and space used for fixed storage.
- Plan where equipment sits and how you’ll reach it, keeping vehicle limits and balanced load placement in view.
- Build a clear brief around your vehicle, regular load and storage priorities to guide a tailored aluminium tray layout.
What makes a dual cab ute tray layout work for your day?
A useful tray layout brings open deck space, storage and access together so you can carry your gear and reach it without unnecessary reshuffling. Begin with the work the ute needs to do. List the trade tools, bulky materials, camping gear or mixed loads you carry, and note which items change from day to day.
A dual cab’s cabin takes up part of the vehicle’s overall length, and the vehicle’s specific dimensions determine the tray space available. Don’t assume another dual cab, even one of a similar type, will have the same fit or usable deck. A good dual cab ute tray layout supports your regular tasks while keeping the complete load within the vehicle’s limits. For background on the term and its Australian context, see Ute (vehicle).
Start with the loads you carry most often
Make two lists: everyday equipment and items carried only occasionally or seasonally. For each item, record its size, weight, how often you use it and whether you need quick access. This helps you decide what belongs in secure storage and what needs to fit on a clear deck.
- Daily tools: Identify the items you reach for most and which can stay secured between jobs.
- Bulky materials: Flag long or awkwardly shaped loads that need open deck space.
- Occasional gear: Note touring or seasonal equipment that shouldn’t dictate the everyday layout if it’s rarely carried.
Consider handling as well as fit. Heavy or awkward items need a practical position that suits how you load and unload the ute. Your list gives the layout a clear starting point and helps avoid reserving permanent space for gear you seldom carry.
Separate layout goals for work and touring
Trade setups often prioritise quick access to frequently used tools, with secure storage for equipment that needs protection. Touring setups may need room for recovery equipment and camping gear, as well as open deck space for larger items. The right balance depends on what you carry most, not what might come in handy once.
For mixed use, decide what stays on the ute every day and what changes between work and trips. Fixed storage can make tools easier to organise, but it occupies deck space and adds weight. Open deck space keeps loads flexible, while smaller loose items need a plan for secure transport. Set priorities before adding storage, then shape the layout around the loads and access you rely on.
Measure the dual cab ute and plan around payload
Plan from the vehicle outwards. A tray may fit the available chassis area but leave less carrying capacity once you account for the tray, storage, occupants and equipment. Use specifications for your exact vehicle rather than dimensions or load figures from another dual cab.
- 1. Confirm the vehicle: Record its make, model and year, along with the tray mounting requirements and relevant manufacturer specifications.
- 2. Measure the fit: Record the available chassis area and note clearances around the cab, wheels and mounting points. Mark anything that could affect access, overhang or equipment placement.
- 3. Map the loads: List the tray, planned accessories, occupants and carried gear. Note each item’s weight and intended position, including equipment you carry only on workdays or trips.
- 4. Review the limits: Compare the complete setup with the vehicle’s payload, Gross Vehicle Mass and axle limits before settling the layout.
Which measurements should you record before planning?
Measure the usable chassis area, not just the space you hope the deck will cover. Record clearances around the cab and wheels, along with the tray mounting points. Mark anything that could restrict a toolbox door, canopy access or load placement. Keep the vehicle details with your measurements so the tray design can be based on a specific fitment brief rather than a generic dual-cab dimension.
How do payload and axle limits affect the layout?
Payload is the vehicle’s available carrying capacity. The tray and fitted accessories use part of it, as do occupants and everything carried. GVM is the maximum permitted mass of the loaded vehicle, while axle limits set how much weight each axle can carry. A load may fit on the deck but still be unsuitable if the complete vehicle or either axle exceeds its limit.
Check the vehicle plate and relevant manufacturer specifications for the figures that apply to your ute. Don’t rely on a generic payload number, as limits vary between vehicles and configurations. Also distinguish the tray’s own rated capacity from the vehicle’s available payload. Neither figure replaces the other.
Once you know the limits, include every planned item in your assessment and consider balanced load placement. For guidance on securing loads on light vehicles, refer to the National Transport Commission’s Load Restraint Guide. These measurements and load details can also inform a custom aluminium ute tray designed around your vehicle and regular use.
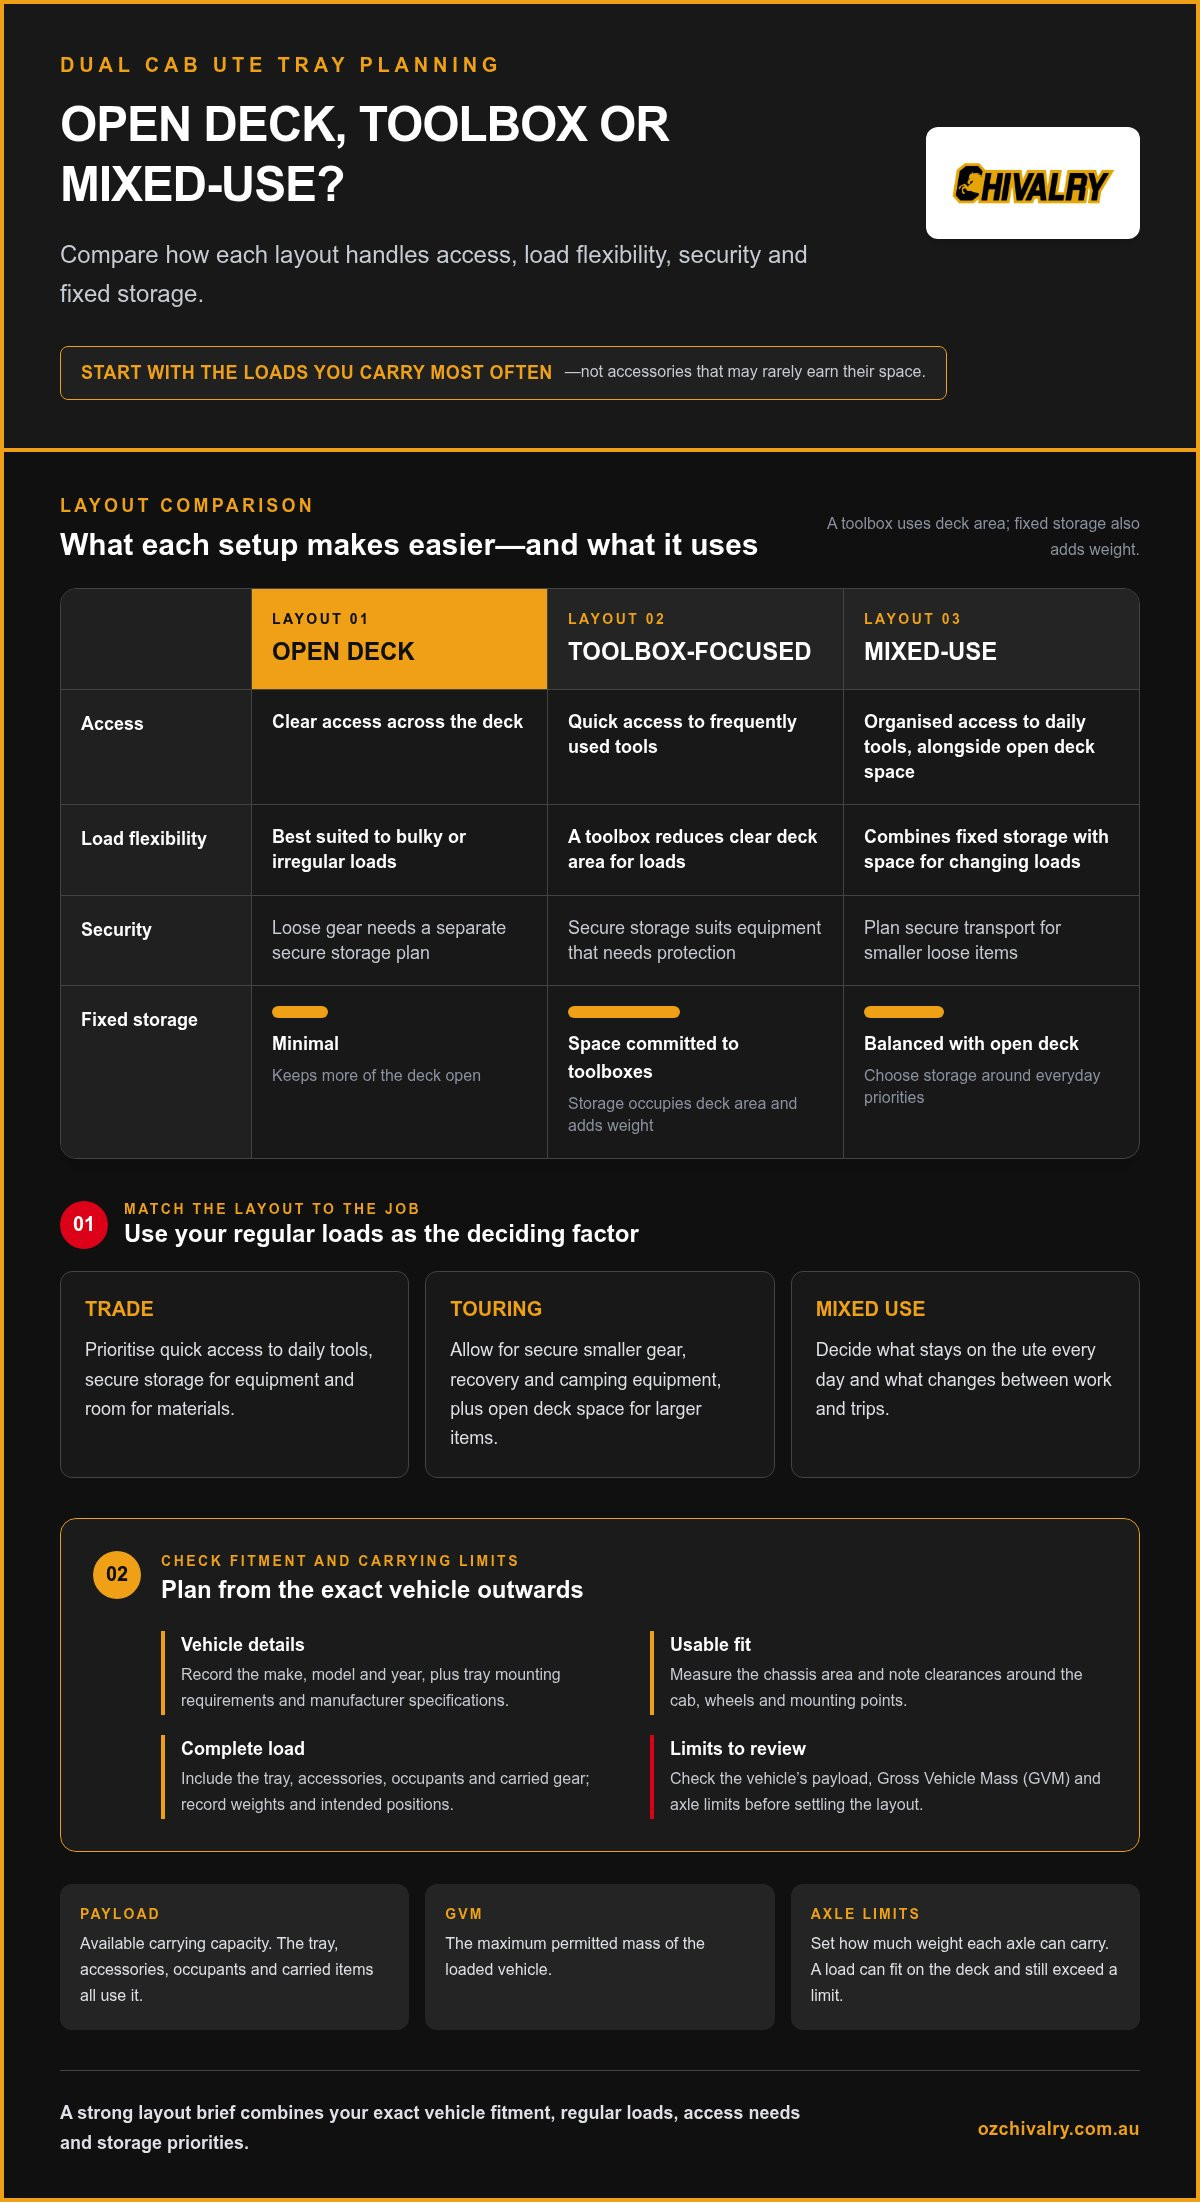
Compare dual cab tray layouts by access, storage and load
Tray dimensions don’t tell the whole story. A toolbox reduces clear deck area, and its position can affect loading and access to tie-down points. Compare layouts by the tasks they need to support, not just by the equipment they can fit. The right dual cab ute tray arrangement makes regular loads practical to carry without reserving space for gear you rarely use.
| Layout |
Access |
Load flexibility |
Security |
Fixed storage space |
| Open deck |
Clear access across the deck |
Best suited to bulky or irregular loads |
Loose gear needs a separate secure storage plan |
Minimal |
| Toolbox-focused |
Quick access to organised small gear |
Less clear deck space for large loads |
Enclosed storage for tools and equipment |
More |
| Mixed-use |
Combines deck access with selected storage |
Balances varied loads and everyday gear |
Some equipment can be stored separately |
Moderate |
When does an open-deck tray suit the load?
An open deck suits regular loads that are long, bulky or awkwardly shaped, such as job materials or larger touring gear. With fewer fixed obstructions, it’s easier to adapt the space for different loads. The trade-off is that smaller tools and loose equipment need their own secure storage and restraint plan. If the deck needs to stay clear most days, fixed storage may get in the way.
When should toolboxes or storage be built into the plan?
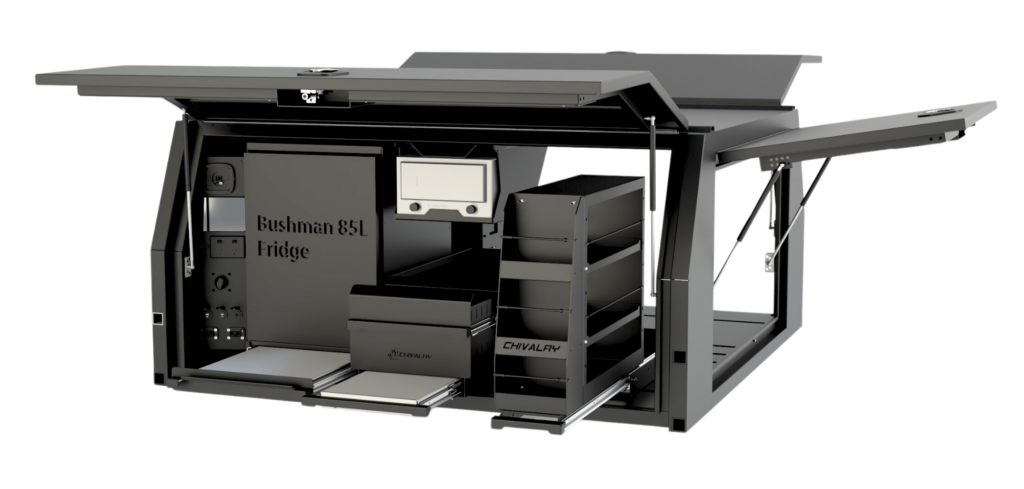
Toolboxes suit smaller equipment you want organised, protected and easy to reach. Plan their position around how you load the ute and use the tray. A box that blocks access to tie-down points or clashes with common load shapes can create daily friction. Check whether doors can open when the deck is loaded, and whether the box leaves room for the items you carry most. Add storage to solve a regular problem, not simply because there’s room to fit it.
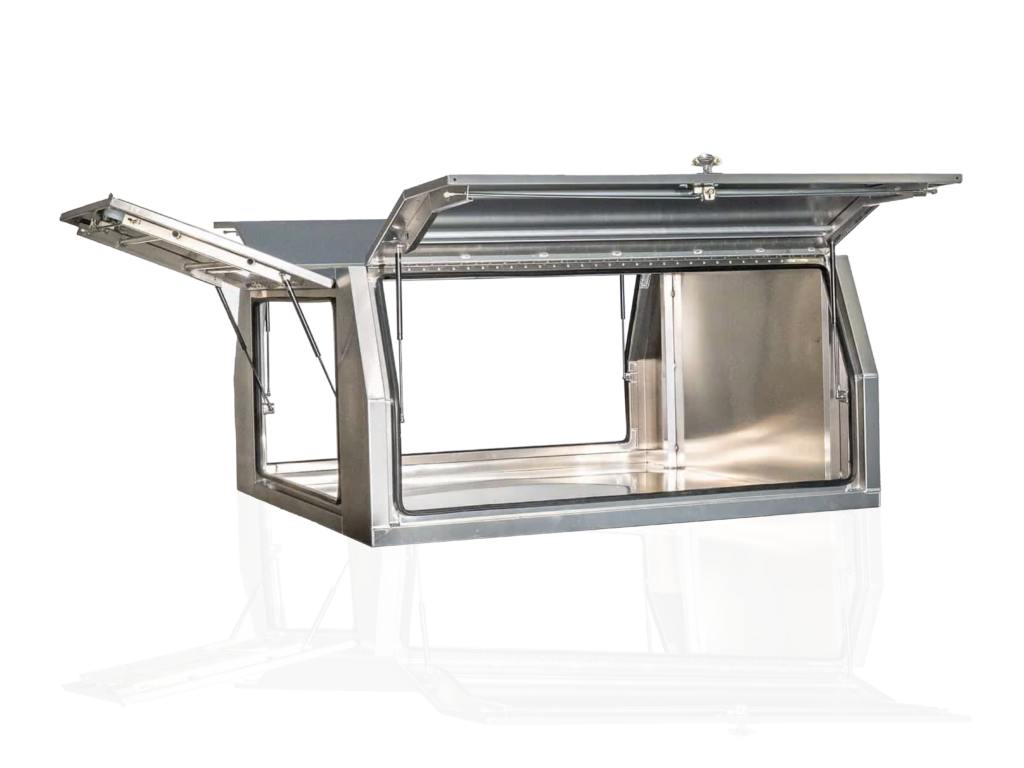
A mixed-use setup can combine selected storage with enough open deck for changing loads. Aluminium tray construction provides a practical base for a layout tailored to the vehicle and its work or recreational use. Make each accessory earn its place through frequent, useful service. For practical guidance on transporting loads safely, refer to national load restraint guidelines, then leave room in your layout to secure what you carry.
Plan a dual cab ute tray layout in practical steps
Turn your measurements and gear list into a working plan before fixing storage in place. A simple sketch can expose access problems while changes are still easy to make. Build around the jobs you do regularly, then test the plan against less common loads you still need to carry.
Turn a gear list into a workable tray sketch
Draw the deck to scale using verified measurements for your vehicle. Mark the cab, wheels, mounting areas and any features that need to remain accessible. Then block out fixed parts of the setup, such as toolboxes, alongside open loading zones and items that need clear access.
Label each area with the equipment it will hold, its weight and how often you use it. Put frequently accessed tools where you can reach them without shifting other gear. Mark heavy items so their positions can be considered against vehicle limits and balanced load placement. Keep space for loads that need an open deck instead of squeezing every item into a permanent spot.
Check the layout before committing to fabrication
Test the sketch against a typical workday or trip. Walk through loading and unloading in order: what goes on first, what needs to come off last, and which items must be reached along the way? If accessing a regular tool means unloading half the tray, move it or rethink the storage position.
Check that planned storage won’t obstruct doors, tie-down points, loading access or vehicle features affected by the build. Then compare the complete setup, including occupants and carried equipment, with the vehicle’s limits. If fixed storage leaves too little payload headroom or blocks a task you do often, revise the plan before fabrication.
- Daily use: Keep essential equipment accessible without repeated unloading.
- Occasional loads: Check that bulky or seasonal gear still fits when needed.
- Final layout: Confirm storage, open deck and load placement work together.
A clear sketch gives a tailored build a solid starting point. Chivalry Trays and Canopies designs and manufactures aluminium ute trays to suit vehicle specifications and trade or recreational requirements. Plan your tailored aluminium ute tray around the measurements, equipment and access points you’ve mapped.
Turn your dual cab ute tray plan into a tailored build
Your plan is the working brief for a tray that fits the vehicle and makes good use of its space. Bring together the vehicle details and verified measurements, regular loads, access points and storage needs. Separating essentials from optional extras helps preserve clear deck space and payload for useful gear.
What to include in a tray build brief
Make the brief clear enough to show how the ute works, not just what you’d like to add. Include the vehicle’s make, model and year, plus measurements for the available mounting area and important clearances. List regular equipment with its weight, size and access needs. Note bulky loads that need an open deck, and identify which tools or gear need enclosed storage.
Sort storage and accessories into two groups: essential for regular work or touring, and optional for occasional use. This keeps the layout focused. A toolbox that protects daily tools may be a priority; extra storage for rarely carried gear may take up space without improving the setup.
How Chivalry can turn the plan into a ute tray
Chivalry Trays and Canopies designs and manufactures heavy-duty aluminium ute trays and custom aluminium fabrications for trade and recreational use. Custom builds are tailored to vehicle specifications and intended requirements, giving your measurements and load list a practical starting point for a purpose-built layout.
Use your brief to explain what needs to fit, what must stay accessible and where you need open deck space. That gives the build a clear job from the outset, whether the ute is set up for regular trade tasks, touring or a mix of both. Explore Chivalry’s aluminium tray solutions once you’ve set your priorities.
Build brief checklist:
- Vehicle make, model and year
- Verified measurements and mounting clearances
- Regular loads, including their size and weight
- Access points and equipment you need to reach quickly
- Essential storage, optional accessories and open-deck requirements
- Vehicle limits to account for in the finished setup
A well-defined brief turns a dual cab ute tray plan into a layout shaped around real use, not add-ons for their own sake.
Build a tray around the work ahead
A dependable dual cab ute tray setup starts with your vehicle’s measurements and carrying limits, then takes shape around the gear you use most. Prioritise access to daily tools or touring essentials, account for bulky loads, and make sure every storage addition has a practical purpose.
With your vehicle details, load list and access priorities clear, you’ll have a useful brief for a tailored build. Chivalry manufactures aluminium ute trays and custom aluminium fabrications matched to vehicle specifications and trade or recreational requirements.
Plan your dual cab ute tray with Chivalry and turn your layout priorities into a practical next step. A well-planned setup can make the ute work harder for the jobs and trips ahead.
Frequently Asked Questions
What size tray suits a dual cab ute?
There’s no single tray size that suits every dual cab. The right dimensions depend on the vehicle, chassis and loads you plan to carry. Use the specifications and verified measurements for your exact vehicle, then compare the usable deck space with your regular equipment. Include bulky items that need an open deck, not just the gear you plan to store in toolboxes. A dual cab ute tray should fit the vehicle and suit its everyday job.
How do I measure a dual cab ute for a tray?
Start with the exact vehicle make, model and year, then measure the available chassis area. Record mounting points, clearances around the cab and wheels, and vehicle features that could affect fitment or access. External tray dimensions alone don’t establish compatibility. Use vehicle-specific specifications alongside your measurements before planning a build or selecting a tray. This gives you a more useful fitment brief than relying on dimensions from a different dual cab.
How much weight can a dual cab ute tray carry?
The tray’s carrying capacity isn’t the same as the vehicle’s available payload. The loaded vehicle must stay within its relevant vehicle and axle limits, accounting for the tray, accessories, occupants and cargo. The applicable figures vary with the vehicle and setup, so don’t rely on a generic number. Check the vehicle plate and manufacturer information, and consider the weight and position of your planned equipment when laying out the load.
Can I add toolboxes to a dual cab ute tray?
Yes, toolboxes can be included when their position suits your equipment and loading routine. They provide enclosed storage for smaller gear, but use deck space and add weight. Before settling on a location, map it against your regular loads, tie-down access and the way you load the ute. A toolbox should make everyday equipment easier to organise and reach without blocking space needed for bulky materials or touring gear.
Is an aluminium tray suitable for work and touring?
An aluminium tray can suit work or touring, depending on the vehicle, load and build requirements. Choose by looking at fitment, usable deck space, storage and access needs, rather than material alone. Consider what you carry on a normal workday and what changes for a trip. Chivalry manufactures aluminium ute trays for trade and recreational use, with custom fabrication tailored to vehicle specifications and intended requirements.
How should I organise gear on a dual cab ute tray?
Group gear by weight, size and how often you use it. Keep frequently accessed tools reachable, reserve clear deck space for bulky loads and plan secure storage for smaller equipment. Load placement also needs to account for the vehicle and axle limits. Sketch the deck before adding fixed storage, then test the arrangement against your regular work or touring tasks. This helps reveal access problems before the layout is built.
Do I need a custom dual cab ute tray layout?
A standard layout may suit straightforward loads, while a custom arrangement can help when your equipment, access or storage needs are specific. Start with a clear gear list and verified vehicle measurements, not a wish list of accessories. Chivalry designs custom aluminium fabrications around vehicle specifications and intended trade or recreational use, giving you a practical path from your regular tasks to a tailored tray layout.