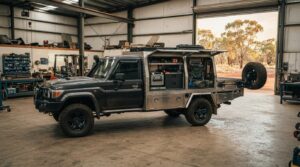
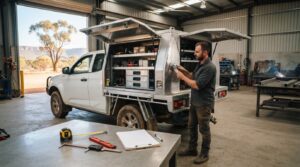
What if the most practical ute canopy setup is the one with fewer add-ons? A canopy packed with gear can still slow you down if everyday tools are hard to reach or the load leaves too little usable payload for the rest of your kit.
You need secure storage for valuable equipment, clear access to the items you use most, and a layout that can handle changing work and touring needs. Start with the jobs and trips you do regularly, not a catalogue of accessories. Then match the storage plan to your vehicle, its load capacity and the gear it needs to carry.
This guide will help you map out a fit-out around real tasks, decide what belongs in fixed storage and what needs quick access, and account for the weight of the canopy, accessories and equipment before ordering. You’ll also see which vehicle and load details to gather early. Whether you’re planning an aluminium canopy, tray-and-canopy combination or service body, a considered layout makes every part of the setup work harder.
Key Takeaways
- Sort gear into regular work essentials, touring equipment and occasional-use items before choosing storage.
- Sketch the canopy layout and place frequently used tools where you can reach them without shifting other gear.
- Compare work, touring and mixed-use priorities to decide where fixed storage and flexible space matter most.
- Build your ute canopy setup plan in stages, from vehicle details and gear inventory to a final layout brief.
- Write a build-ready brief around how you use the vehicle, not just a list of accessories you might buy.
Start your ute canopy setup with the jobs and trips it must handle
A ute canopy setup is the storage and equipment arrangement matched to your vehicle’s tasks, the gear you carry and how you need to access it. The right layout isn’t simply the one that fits the most accessories. It’s the one that puts essential equipment within reach, protects what needs protection and leaves room for the way you use the ute.
A ute combines passenger transport with an open load-carrying area, a format shared with the pickup truck. A canopy changes how that area works, but your routine should still lead the plan. Separate regular work, weekend touring and occasional needs before deciding what storage or equipment belongs in the build.
Map the gear to your actual routine
Start with an honest inventory. List the tools, consumables, recovery gear, camping equipment and other items you actually take along. Mark each one as daily-use, occasional-use or trip-specific. If a tool leaves the ute most evenings, it may not need a permanent spot. If it’s carried every workday, give its access and protection more attention.
- Daily-use: hand tools, safety gear or work equipment you reach for on regular jobs.
- Occasional-use: spare parts, recovery gear or extra tools carried for particular tasks.
- Trip-specific: camping equipment, 12V accessories or extra supplies packed for longer outings.
Next, note how each item should be stored. Does it need protection from dust and weather? Should it be separated from food, clothing or delicate equipment? Must you reach it without unloading other gear? For example, a first-aid kit or recovery strap is more useful when it isn’t buried beneath bulky camping equipment. This list turns vague ideas about “more storage” into clear requirements for a tray, canopy, toolbox or drawer layout.
Set priorities before choosing canopy equipment
Choose the main job first. A work-focused setup may need secure storage for valuable tools and quick access to everyday gear. A touring setup may need space for camping equipment and 12V accessories, while a mixed-use ute needs a workable balance between both. Pick the use that matters most, then plan secondary functions around it.
Rank your priorities. Is secure storage more important than open floor space? Do you need fast access from the side, or room to load larger items? A tray-and-canopy combination, service body, toolbox or slide canopy drawers can each support different needs, so make the task clear before settling on components.
Keep wish-list extras separate from essentials. A future fridge or additional storage might be useful, but don’t let equipment you may never carry dictate the whole layout. Record it as a possible later addition. Your first brief should reflect the gear and trips you rely on now, while leaving room to adapt if your routine changes.
Plan your ute canopy setup around layout, access and load
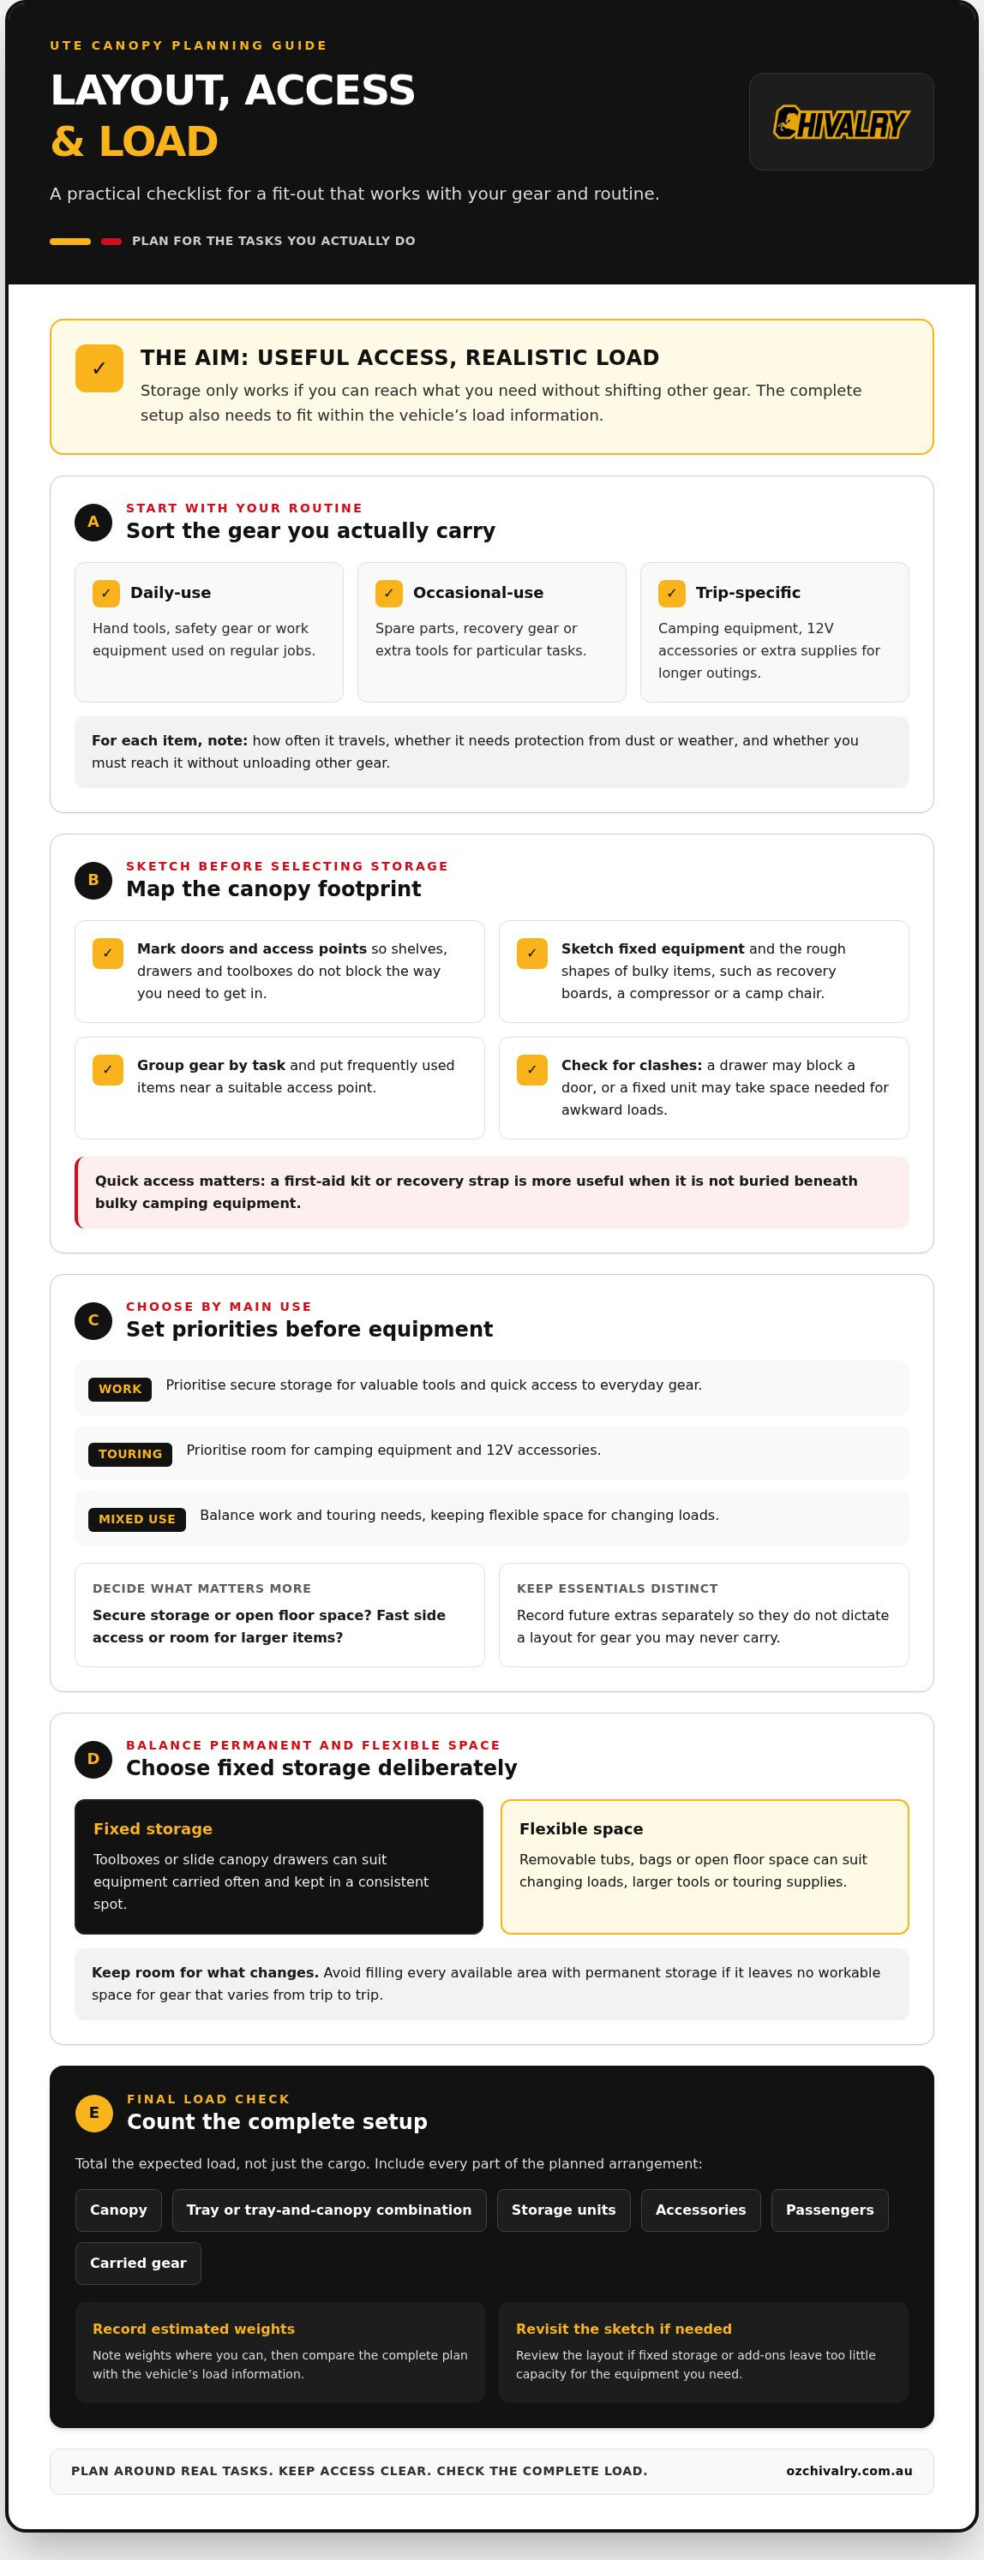
A useful layout must make gear easy to reach while keeping the complete load realistic for the vehicle. Storage only works if you can get to what you need without shifting half the canopy. It also has to fit alongside the weight of the canopy, accessories, passengers and everything carried on the trip.
Start with a simple sketch of the canopy footprint. Mark the doors and note where shelves, drawers, toolboxes and fixed equipment might sit. Add the rough shape of bulky items, such as recovery boards, a compressor or a camp chair. This quick plan helps expose clashes early: a drawer may block access to a door, or a fixed unit may take the space needed for awkward loads.
Arrange storage to match how you work or travel
Group related equipment by task. Keep the gear for a common job together, rather than scattering it across shelves and boxes. Mark the items you reach for most often, then position them near a suitable access point. If you need a tool from the roadside, for example, plan to retrieve it without unloading touring supplies first.
Allow a practical area for gear that won’t sit neatly in a drawer. Bulky or irregular equipment can use more room than its list suggests, so sketch its footprint rather than assuming it will fit. Place heavier items with the vehicle’s balance in mind, and use the vehicle’s load information and relevant guidance when reviewing the finished arrangement.
Choose fixed storage and removable gear deliberately
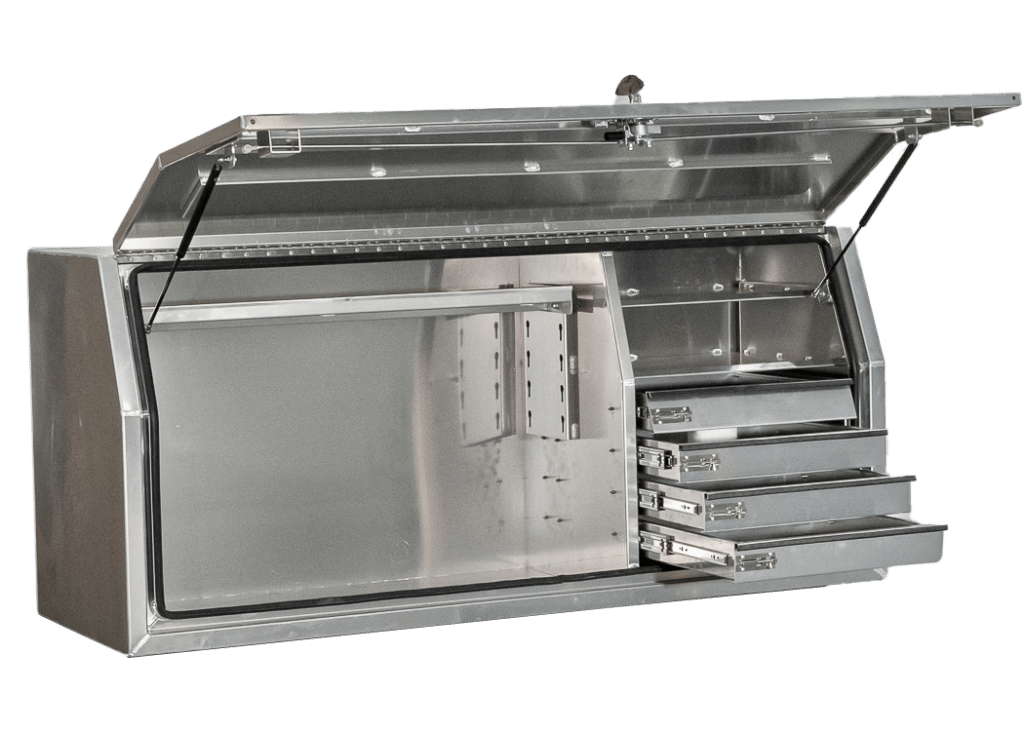
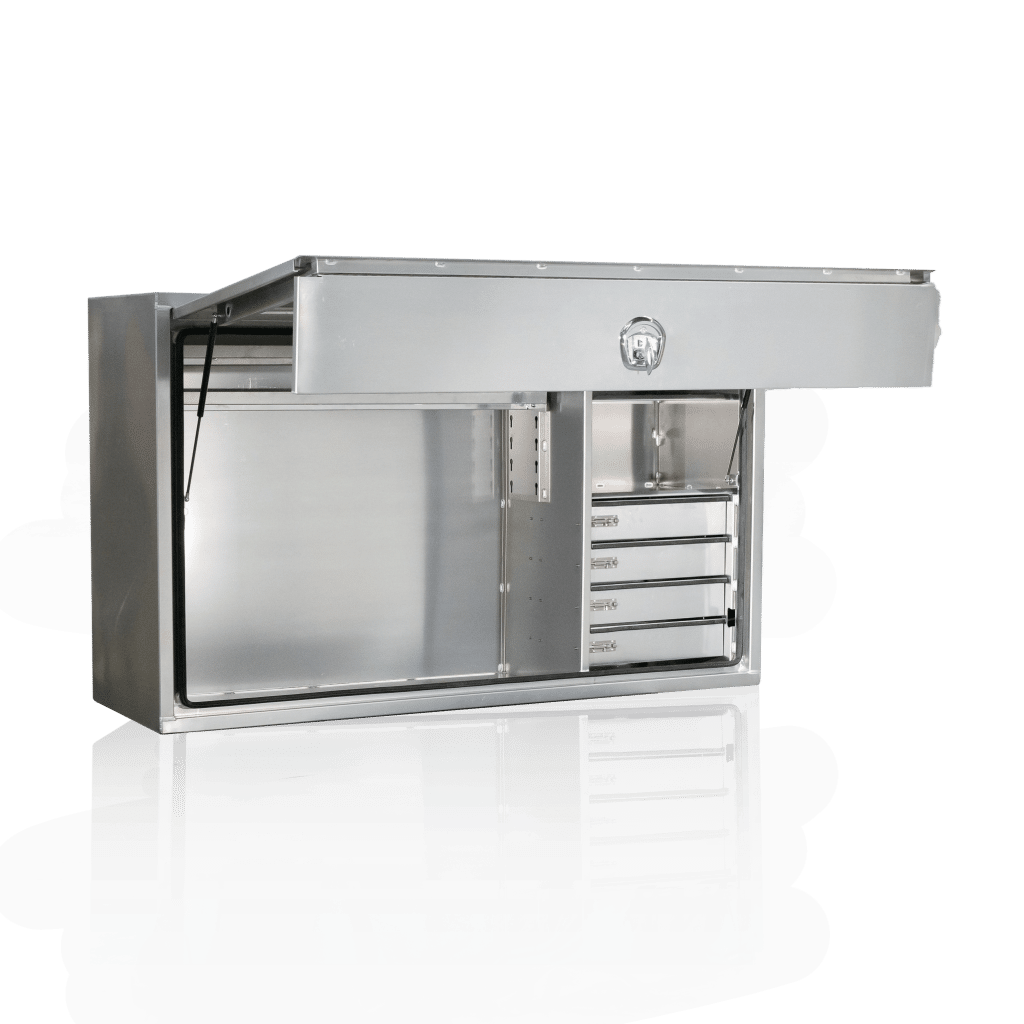
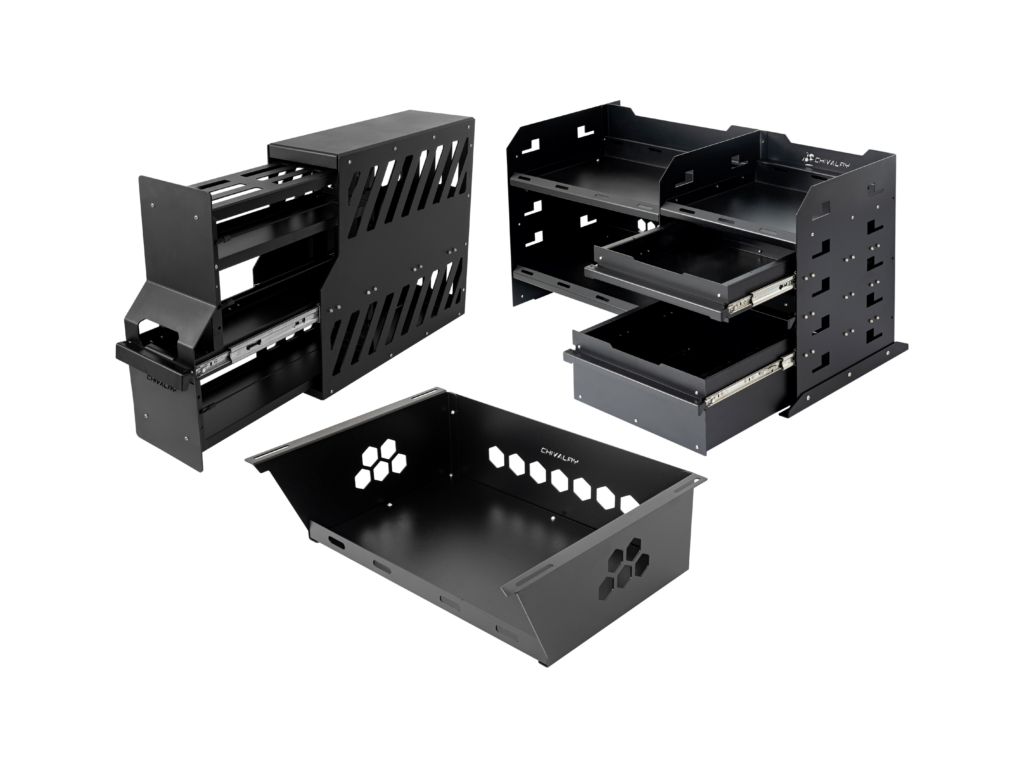
Fixed toolboxes or slide canopy drawers can suit equipment you carry often and want organised in a consistent spot. Removable tubs, bags or open floor space can be more useful for changing loads, larger tools or touring supplies. Avoid filling every available area with permanent storage if it leaves no workable space for gear that changes from trip to trip.
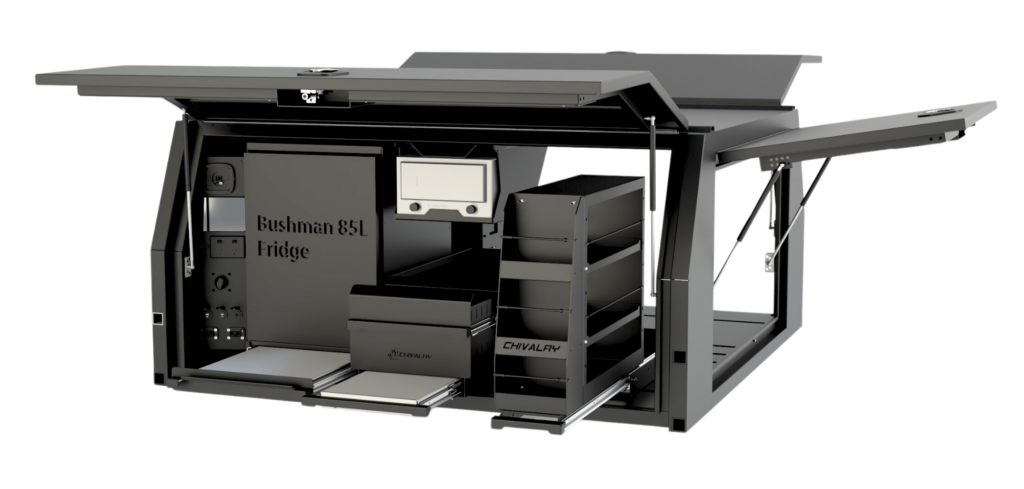
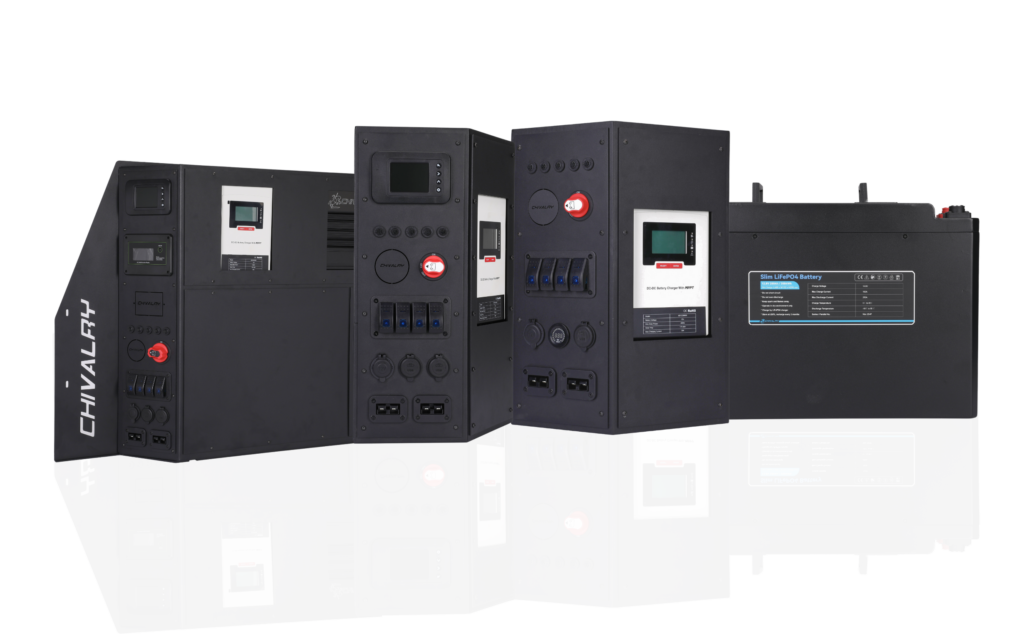
Plan 12V camping accessories around appliances and tasks you expect to use. Note where equipment needs to sit and what access it requires before reserving space for it. A touring fit-out could prioritise room for a fridge and camping supplies; a work setup may need clear access to tools instead. Keep optional extras separate from the core layout.
Now total the expected load, not just the cargo. Include the canopy, tray or tray-and-canopy combination, storage units, accessories, passengers and carried gear. Record estimated weights where you can, then compare the complete plan with the vehicle’s load information before settling on the layout. Revisit the sketch if fixed storage or add-ons leave too little capacity for the equipment you actually need.
Aluminium trays, canopies, service bodies and storage accessories can be configured around different work and touring routines. Use your sketch and load notes to shape a purpose-built aluminium setup around practical access, storage and vehicle needs.
Choose a ute canopy setup for work, touring or mixed use
There’s no single layout that suits every ute. A tradie carrying tools between jobs has different access and storage needs from someone packing for remote trips. A mixed-use vehicle needs to switch roles without turning each changeover into a full unload. Use your regular routine to choose a direction, then shape the storage around the gear and access that matter most.
| Use |
Typical gear and access |
Storage priorities |
Flexible space |
| Work |
Tools, consumables and job-specific equipment; fast access during the day |
Organised, secure storage; separate clean tools from dirty or wet gear |
Room for equipment that changes between jobs |
| Touring |
Camping supplies, recovery gear and everyday items; access at stops |
Protected storage with essentials easy to reach |
Space for trip-specific gear and larger items |
| Mixed use |
Core work kit plus touring gear; access needs change by outing |
Fixed storage for regular essentials and removable storage for other loads |
Clear space for changeovers without blocking everyday gear |
Set up for trade work or regular job-site use
For regular work, start with the equipment you use across most jobs. Give those tools a consistent, easy-to-reach place, then separate valuable equipment from muddy boots, wet gear or bulky materials where practical. Keep some spare capacity for job-specific items. If the setup is built around one unusually large load, everyday tools may end up harder to access.
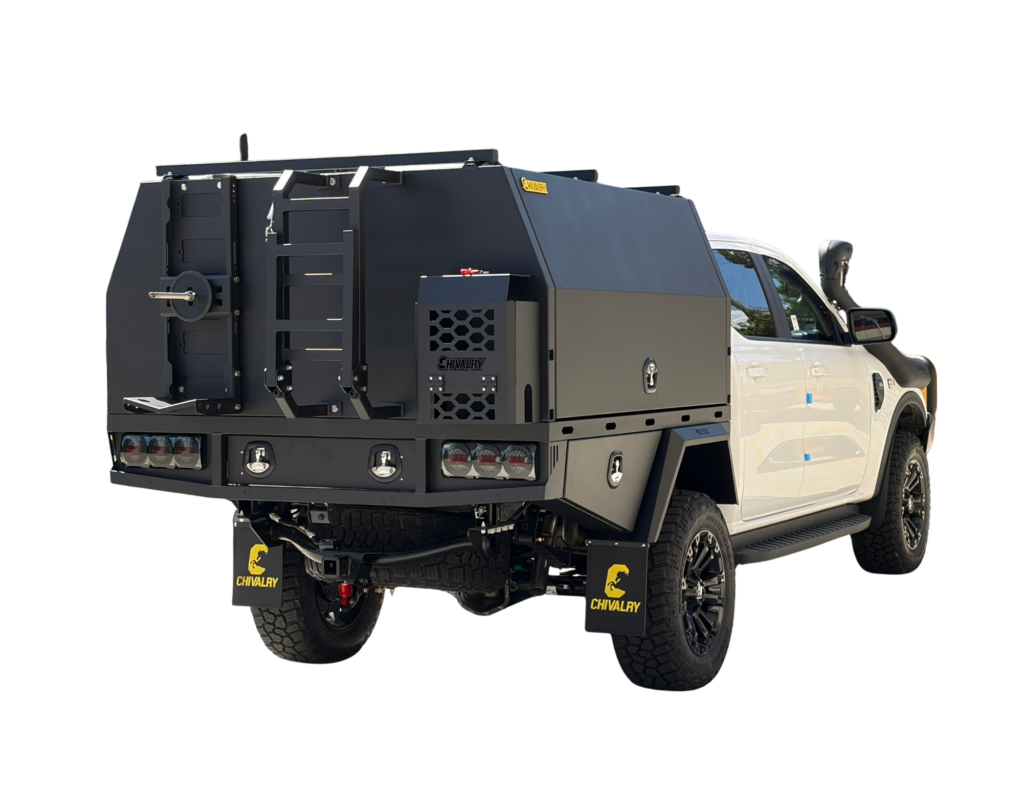
Think about the sequence of a workday. Gear needed first should not sit behind equipment used later. A tray-and-canopy combination can bring the load area and enclosed storage together. Compare ute tray and canopy combo options against the tasks you need the vehicle to handle.
Set up for touring or mixed work and weekend use
Touring adds camping supplies and recovery equipment to the load. Keep items needed at a stop accessible without removing work gear or unpacking the whole canopy. For mixed use, decide what stays onboard every day and what can come out before a trip. Removable tubs or bags can help separate touring supplies, while fixed storage keeps the core work kit organised.
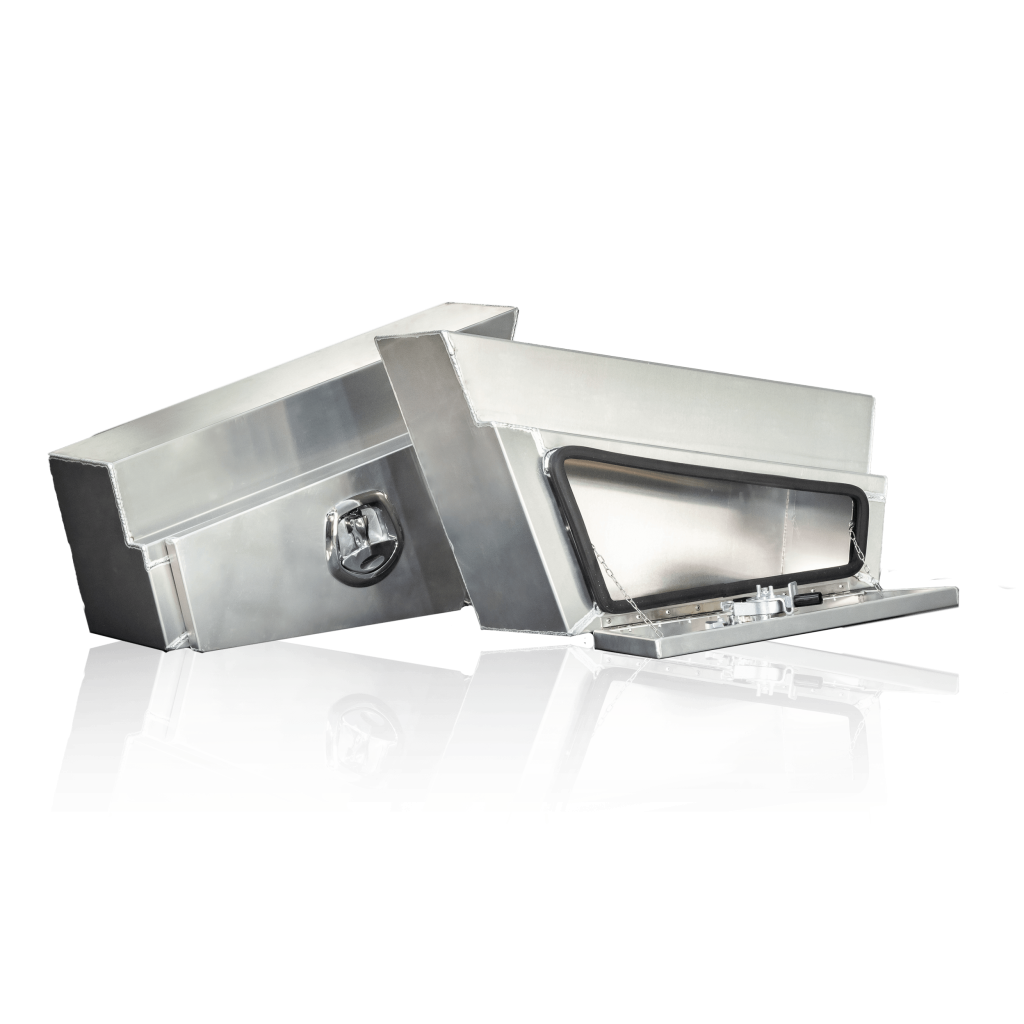
If work equipment needs dedicated compartments or a more specialised layout, consider how custom ute service body planning could suit that routine. Whether you choose work, touring or mixed use, the right ute canopy setup follows how you use the vehicle, not a universal template. Recheck access and usable space whenever you add equipment or change the load.
Follow these steps to plan your ute canopy setup
Turn your requirements into a clear brief before settling on equipment. This process connects your day-to-day use with a workable layout and realistic load plan. Keep the notes together so they’re easy to refine and share during the build planning stage.
- Record your vehicle details. Note the make, model, year, cab configuration and current tray or tub arrangement. Add any measurements or fitment details you already have, and record the vehicle ratings shown in its documentation.
- Define the main use. Write down whether the vehicle is mainly for work, touring or both. Note the tasks and trips the setup needs to support, including any regular changeovers between uses.
- Inventory the gear. List the equipment you expect to carry. Where known, record each item’s dimensions and weight, how often you use it, and whether it needs secure storage, separation or immediate access.
- Sketch the layout. Mark the usable area, access points and the planned positions of compartments, drawers and open storage. Group equipment by task and check that frequently used items can be reached without shifting other loads.
- Review the full load. Consider the combined weight of the canopy, tray, fitted accessories, passengers and carried equipment. Compare your plan with the vehicle’s ratings and current Australian guidance. Don’t rely on assumptions when assessing load or compliance; verify any relevant requirements before finalising the build.
- Allow for changes. Note likely additions, such as new work tools, touring gear or removable storage. Separate essentials from possible future extras so you can plan useful flexibility without building around equipment you may not carry.
Turn your gear list into a practical layout
Use your measurements to test whether items fit where you’ve placed them. Mark the space needed for awkward or bulky equipment, not just neatly boxed gear. Then check the sequence of access: can you reach the item needed at the start of a job or stop without unpacking the rest? Adjust the sketch before choosing storage components.
Review vehicle fit, load and future changes
Vehicle details affect how a tray and canopy arrangement can be planned. Keep the ute canopy fitment details, measurements and load notes together, and use them to frame the build brief. If the vehicle or equipment changes later, revisit the layout and load review rather than assuming the original plan still fits.
Save this planning checklist:
- Vehicle details and ratings recorded
- Primary use and regular trips defined
- Gear list includes dimensions, weights where known and access needs
- Layout sketch marks storage and open space
- Combined load reviewed against vehicle information and current guidance
- Future additions noted separately from essentials
With these details in hand, you can shape a ute canopy setup around the vehicle and the work or travel it needs to support. Plan your custom aluminium setup from a clear, practical brief.
Bring your ute canopy setup plan into a build-ready brief
A clear brief turns your planning into useful direction for a build. Keep it centred on what the vehicle must do, what needs to fit and how you need to reach it. A list of accessories alone won’t explain whether you need protected storage, open tray space or a combination that can handle work and touring.
What to include in a useful setup brief
Start with the vehicle’s make, model, year and cab configuration, plus the tray or tub arrangement. Then describe the main jobs and trips the setup needs to support. Be direct: “daily trade tools with room for occasional bulky materials” gives a clearer picture than “more storage”. Include gear that stays onboard and items that change with the job or trip.
- Vehicle: record identifying details, existing tray or tub information and relevant vehicle load details.
- Use: describe the regular work, touring or mixed-use routine.
- Gear: list essential equipment and note what is removable or trip-specific.
- Access: state which items must be reached quickly and from where.
- Layout: note priorities for organised storage, separation and clear open space.
Use plain functional language. For example: “Keep daily tools secure and easy to reach, separate wet recovery gear, and leave clear space for larger loads.” That tells the build team what the layout must achieve without locking you into a shopping list.
Match the brief to a suitable build direction
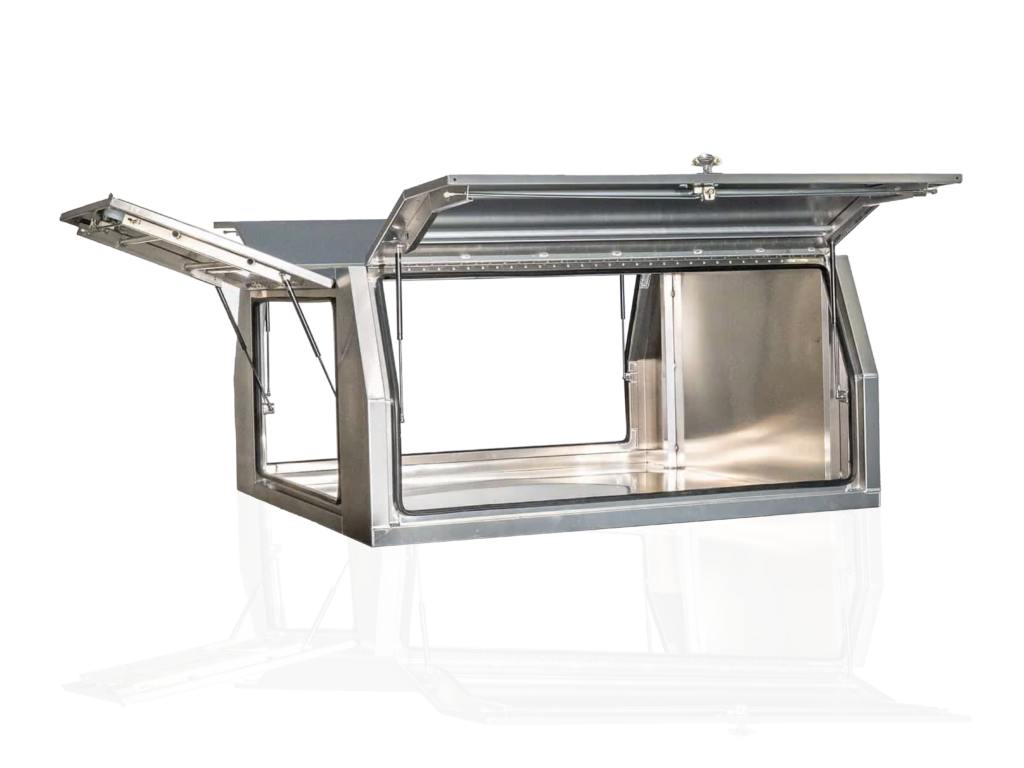
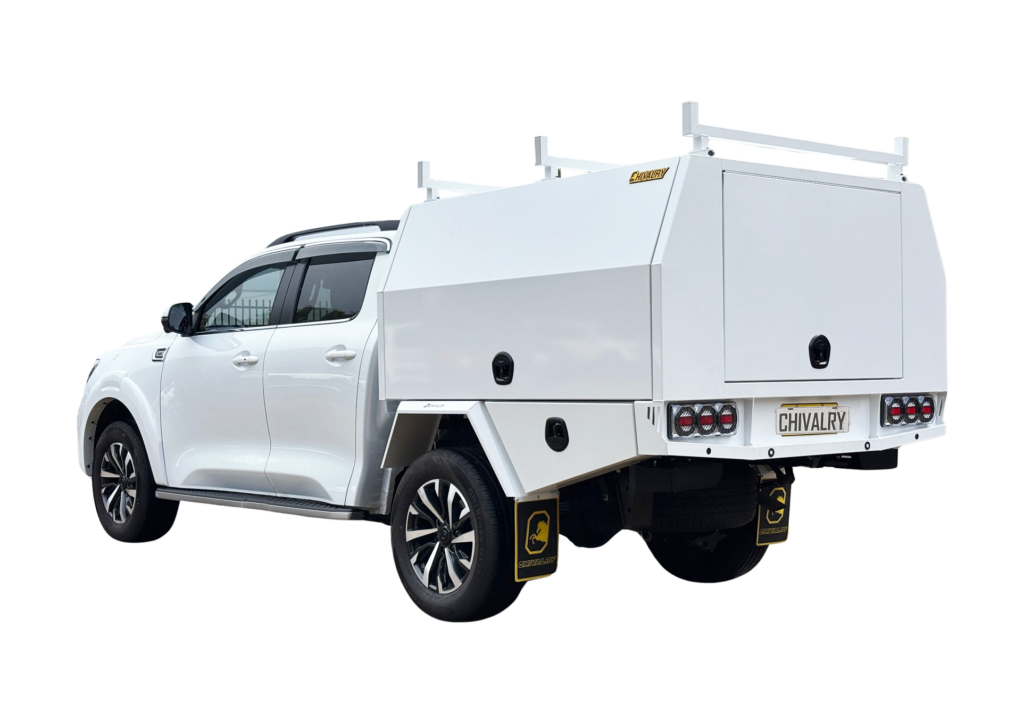
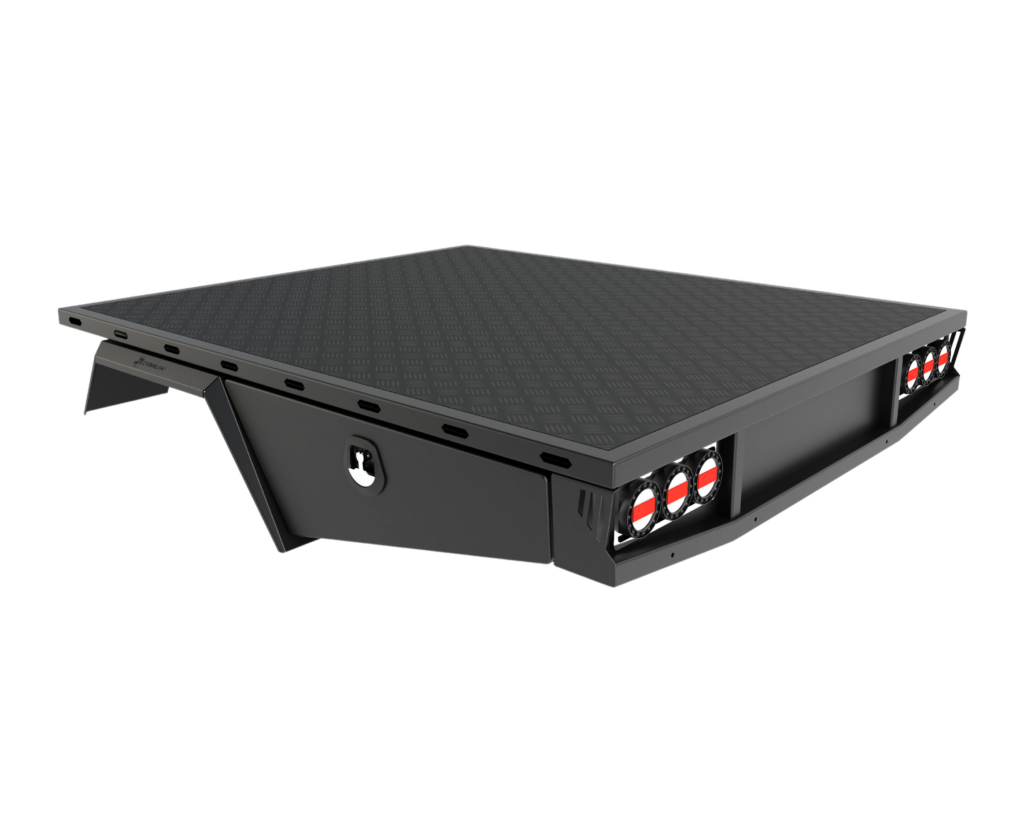
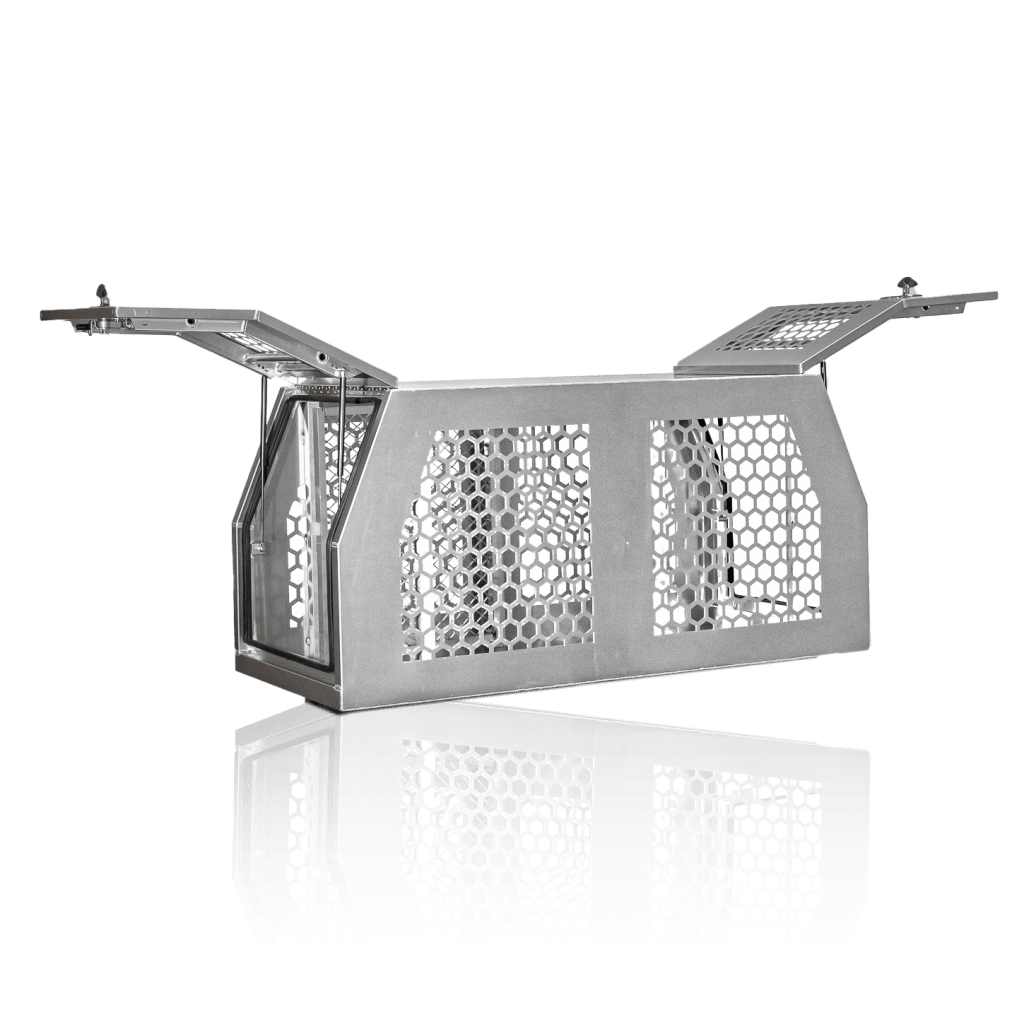
A canopy can suit a need for protected storage, while integrating it with a tray can bring enclosed storage and an open load area into one plan. If the arrangement needs to follow specific work tasks, custom aluminium fabrication can shape the layout around those requirements. Chivalry designs and manufactures aluminium canopies, trays, tray-and-canopy combinations and service bodies for work and touring. For a focused comparison of construction, fitment, access and payload, see this heavy duty ute canopy buyer’s checklist.
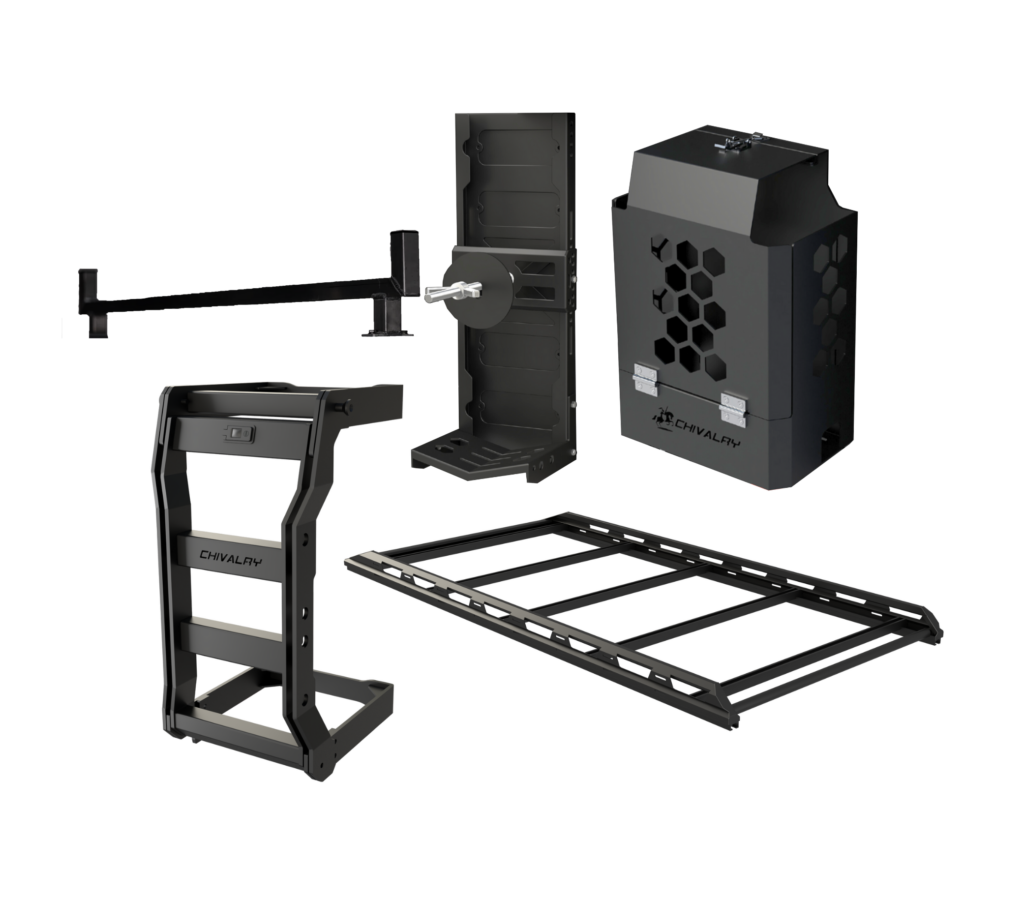
Consider toolboxes or slide canopy drawers when they solve a clear organisation or access problem. Add 12V camping accessories when they support the trips you actually take. Chivalry’s X1 and X3 canopy series can be considered as part of your brief. Let your vehicle, intended use and layout needs guide the choice.
Before finalising the direction, read the brief back as a set of practical requirements. Can someone understand what must stay onboard, what changes between uses, what needs quick access and how much open space matters? If those answers are clear, the plan is ready to guide a tailored build rather than an accessory-led guess.
Explore Chivalry’s ute canopy and tray solutions to find a build direction that fits your brief.
Turn your plan into a setup that’s ready for the road
A practical ute canopy setup starts with a clear idea of what your vehicle needs to do next week, next season and on the trips you take regularly. Keep that purpose at the centre as you move from notes and sketches to a finished layout. The right decisions now can help your storage work as hard as you do, without filling the vehicle with gear that doesn’t earn its place.
Use your brief to guide the choice between a canopy, tray, tray-and-canopy combination or a more tailored arrangement. Chivalry designs and manufactures aluminium canopies, trays and service bodies, including the X1 and X3 canopy series. Explore the options and take the next step towards a fit-out shaped around your vehicle and routine.
Explore Chivalry’s ute canopy and tray solutions and take the next step towards a setup shaped around your vehicle and routine.
Frequently Asked Questions
Can I remove a ute canopy later if my setup needs change?
Yes, a canopy can be removed if its mounting and any connected equipment allow for it. Plan for that possibility before the build by identifying what will need disconnecting or clearing, such as wiring, stored gear or accessories attached to the canopy. Removal may also mean arranging safe handling and storage for a large component. If you expect regular changeovers, favour a layout that keeps essential equipment independent of the canopy.
Can I fit a canopy to a ute with a tub?
Often, a canopy can be fitted to a ute tub, but the suitable option depends on the vehicle and canopy design. Check the make, model, year and tub configuration when planning fitment. Also consider how the canopy’s doors will open alongside the tailgate and whether existing accessories affect access. A tub-mounted canopy and a tray-and-canopy combination are different build directions, so choose based on how you need the load area to work.
Will a ute canopy setup affect my vehicle payload?
Yes. A canopy and its fittings add weight, reducing the capacity left for passengers, tools, camping gear and other loads. Include every component in your load assessment, not just the equipment carried inside. Check the vehicle’s ratings and current Australian vehicle-loading guidance before using the finished setup. If the intended load is close to the available capacity, revise the equipment plan rather than assuming there’s enough room for one more accessory.
Can I use one ute canopy setup for both work and touring?
Yes, one setup can support both, provided you plan for the change between uses. Keep essential work gear organised in a dedicated area, then use removable bags or tubs for camping supplies that only travel on weekends or longer trips. For example, a work vehicle might retain its core tool storage while recovery gear and bedding are packed separately. Make sure neither load blocks access to the other.
Do I need to tell my insurer after fitting a ute canopy?
Tell your insurer about the canopy and other vehicle modifications, and ask how they affect your policy. Give them accurate details of the fitted equipment and explain whether the vehicle is used for work, touring or both. Keep records of the build and any relevant documentation. Insurance terms differ between policies, so don’t assume an accessory is automatically covered or that existing cover remains unchanged after modifying the vehicle.
Can I add 12V equipment to a ute canopy setup?
Yes, 12V equipment can be included when it suits the way you use the canopy. Start by listing the appliances you plan to run, such as a fridge, lights or charging equipment, and note when you expect to use them. That information helps define the electrical system requirements before components are selected. Chivalry’s 12V camping accessories can form part of a touring-focused fit-out alongside suitable storage for the gear they support.
How do I keep a ute canopy setup organised when my work changes?
Keep a stable place for equipment used across most jobs, then organise changing tools in removable containers or clearly defined flexible storage. Review the loadout when a new task brings different equipment onboard. If one tool starts travelling every day, give it a regular, accessible location; move gear used less often out of the main access path. This keeps the layout useful without rebuilding it for every job.